Creature Animation Workflow (beginner friendly)
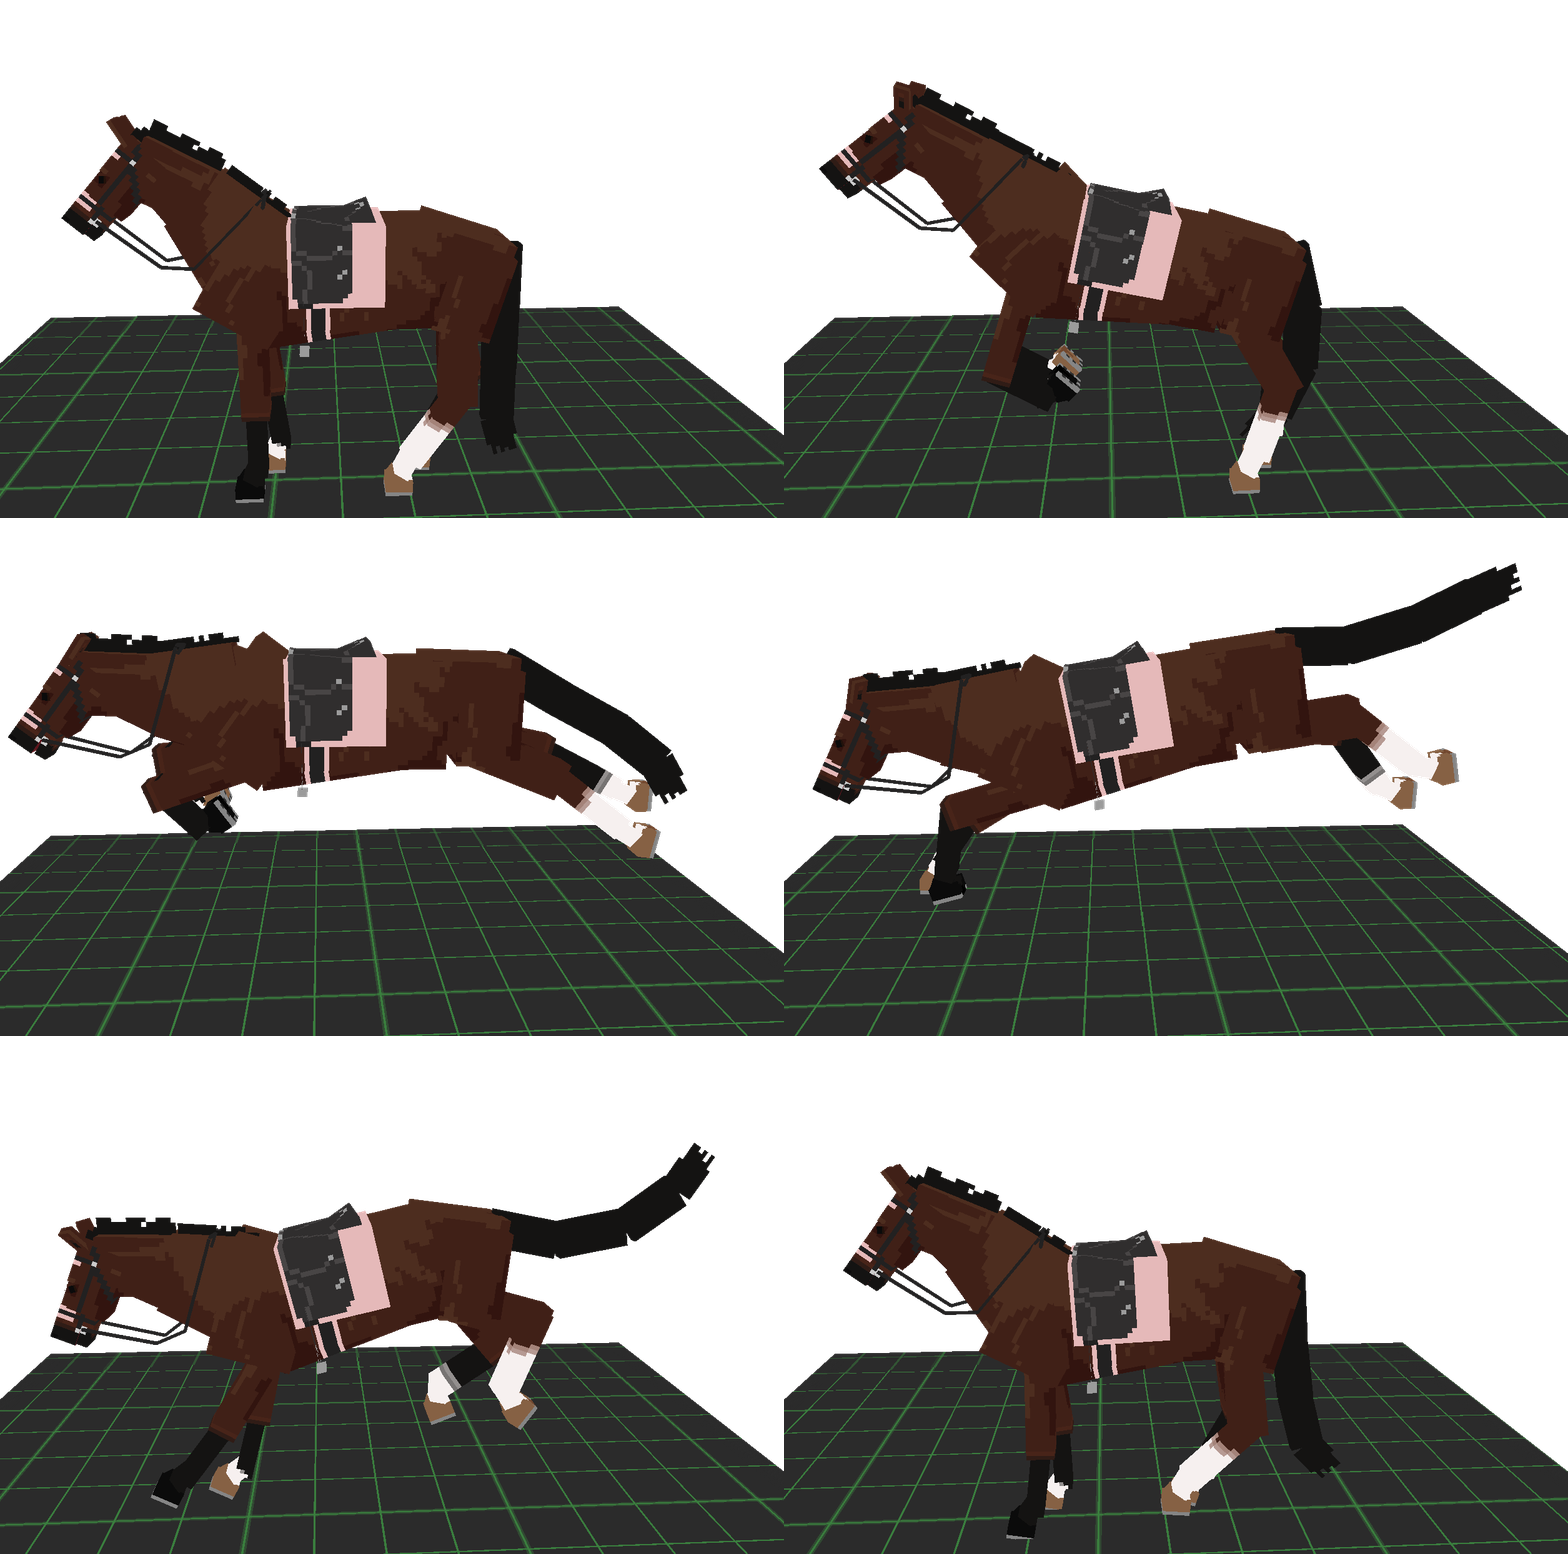
A step-by-step workflow of animating a creature, on the example of a jumping horse.

Hi!
I am animating for quite a while now in Blockbench, mostly with geckolib. I found a good workflow that works for me personally very well and I hope to help some pals out who struggle how to start. This is heavily based on the 12 Principles of animation. If you want a good tutorial video on those, I found this one super helpful: https://www.youtube.com/watch?v=uDqjIdI4bF4&list=PL-bOh8btec4CXd2ya1NmSKpi92U_l6ZJd&index=14
I am showing how to animate a jumping horse here and while this sounds super specific, I will write it so, that you can use this workflow for all sorts of entity animations.
1. References#
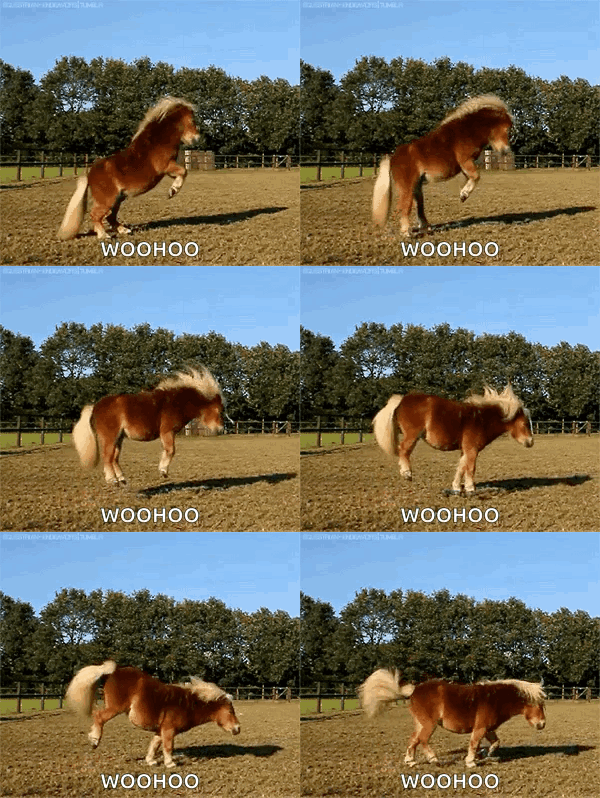
Depending on your style and creature/thing you are animating, you should have a basic understanding of how it moves. For horses there are luckily plenty of references all around. I do find YouTube the best source, where I can change the speed of the video to something very slow and save multiple references in a playlist. But GIFs from different sources are great too.
Links#
There are some good sites for primarily human references if you are looking for professional ones here: https://www.endlessreference.com/
Or a collection of references from all kind of series, movies and games: https://animationreference.org/
2. Positioning#
Alright, so: where to start? I start very easily with something I call "positioning" here. I focus on moving the model only with position keyframes, like so:
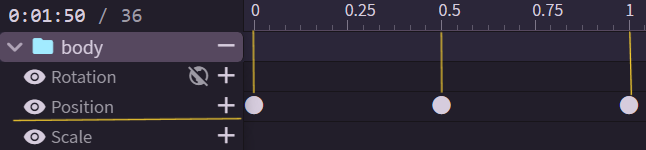
Since I want to animate a jump, the basic movement is up and down. I knew I wanted it to be fairly quick, so having the animation 1 second long for now felt right.
Easy, right?
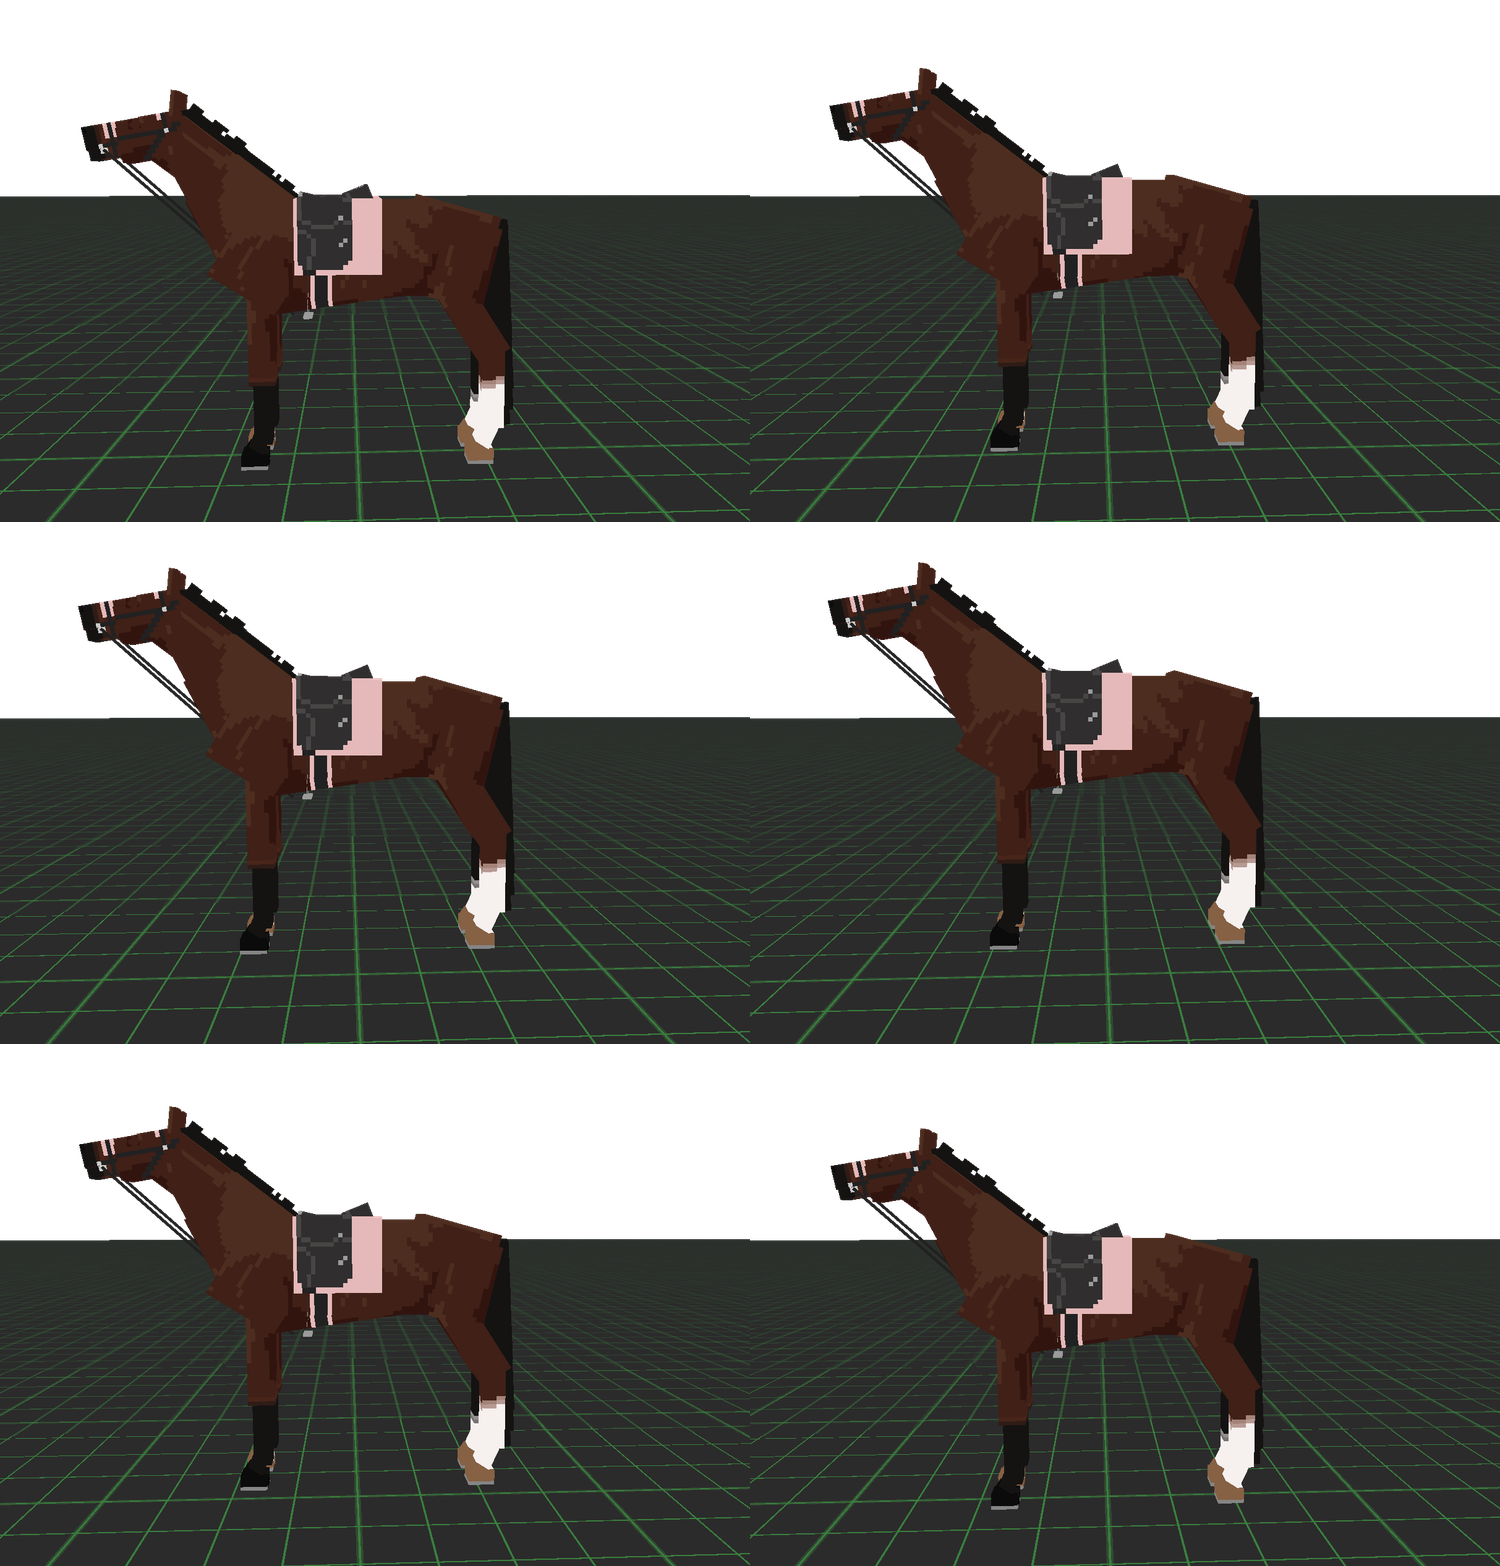
For something like a walk it will also move up and down a little!
3. Main Bones#
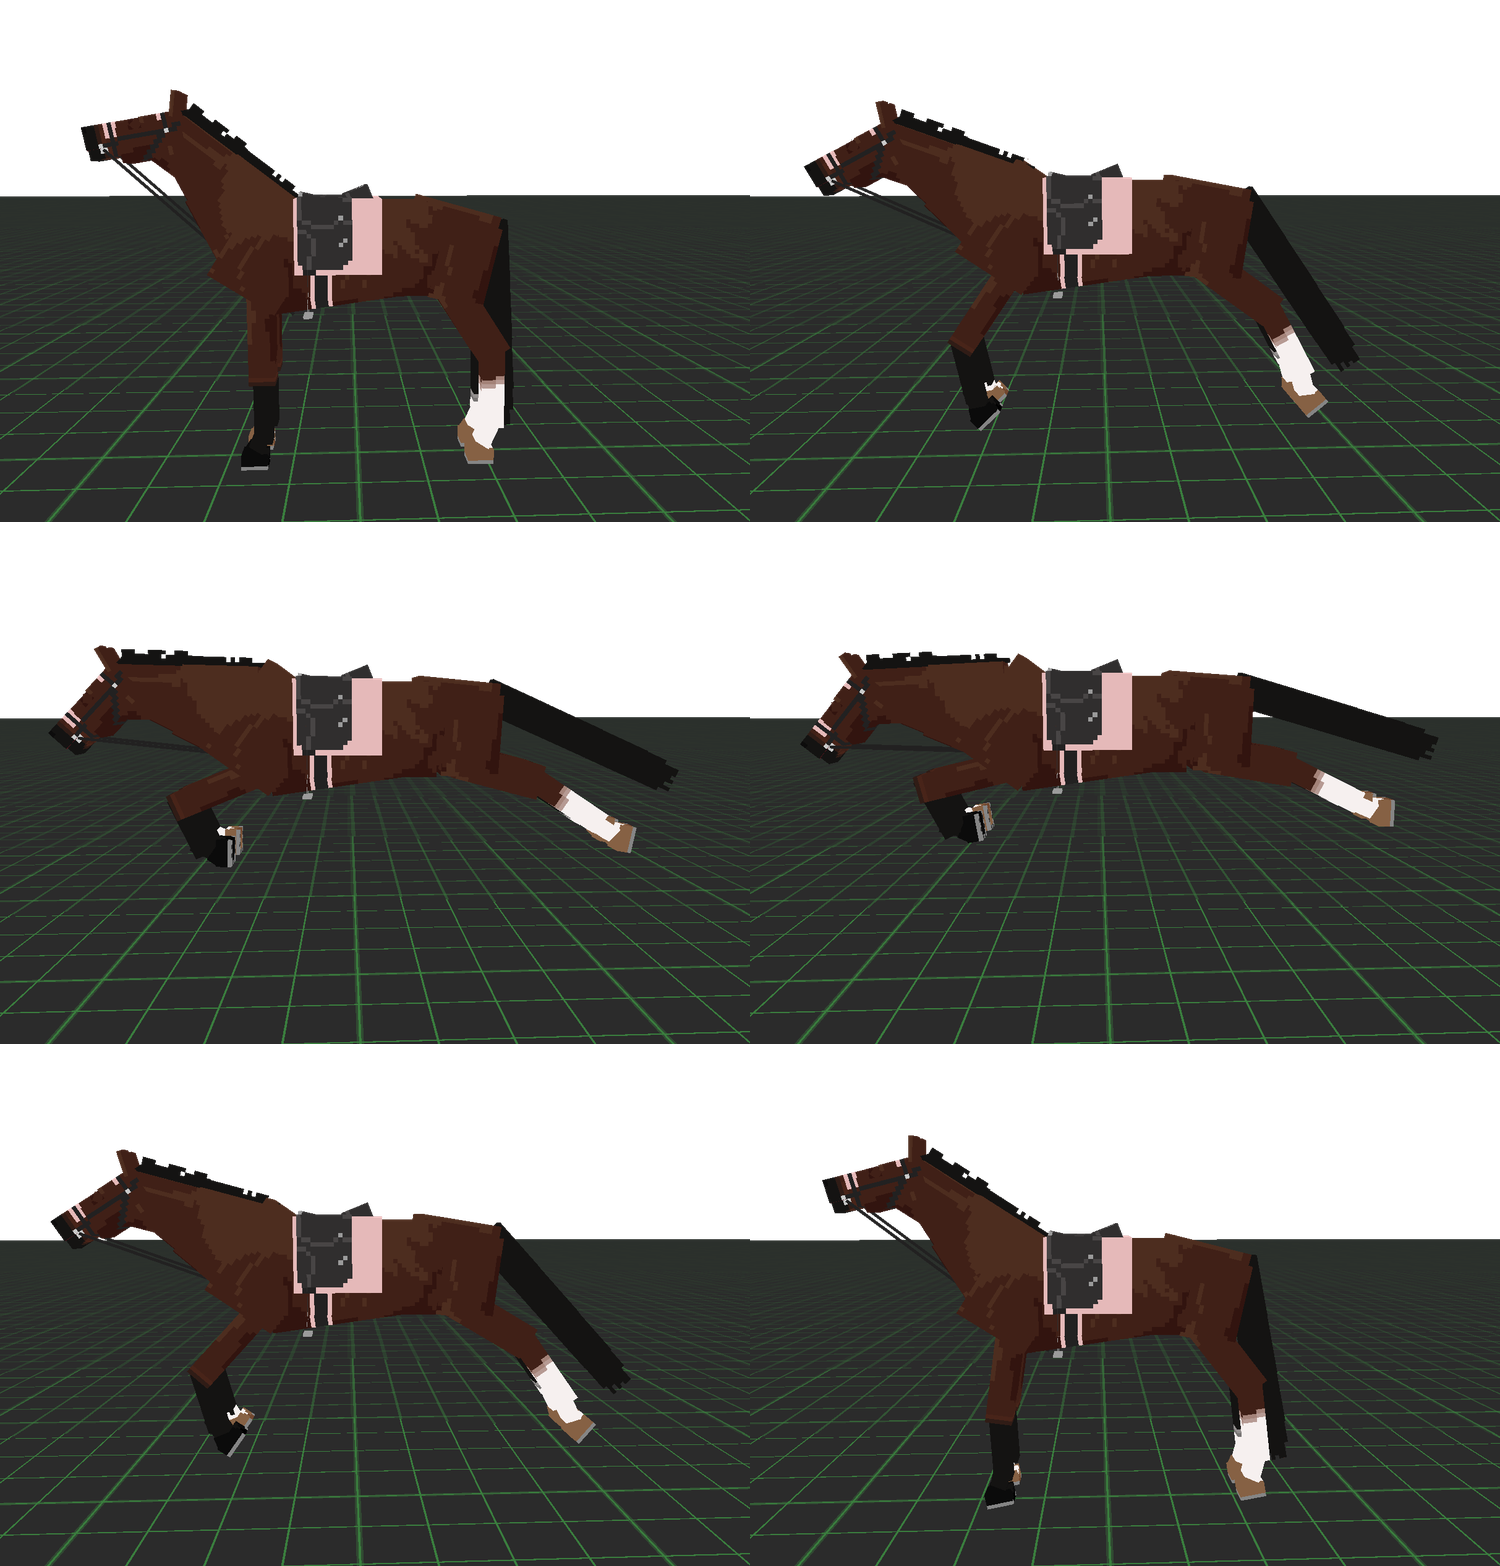
With "Main Bones" I mean the most important parts. Details like the tail, eyes, ears, mouth or the reigns are ignored for now. I focus on creating a starting pose on the ground and a "flying" pose in the air. Looks still ridiculous, but the main message is delivered.
Here it's important to break down your animation into smaller bits like "starting pose" and "flying pose". Those are my main stages, the rest are in-betweens. You can choose more stages, depending on the complexity of the animation and how you want to use it.
Pose to Pose and Straight Ahead#
In 2D animation that's called "Pose to Pose". We draw/pose our entity in the most important stages of the animations and then add the in-between frames step by step. Since this is 3D, something like in-betweens are created automatically - it doesn't snap from pose to pose, the transition is already there.
The opposite approach of Pose to Pose is called "Straight Ahead". That means to not use these main poses and just animate while you go. That works too and can look very natural, but it can make an animation messy and I would recommend using as few keyframes as possible. You can click the little "Optimize Animation" button in Blockbench, which will remove redundant keyframes from your animation.
Anticipation#
For a more realistic approach I highly recommend adding an anticipation stage. That means an action before the main action. For the horse that would mean preparing for the jump, crouching a bit to gather strength for example. I have no anticipation in my finished jumping animation to keep it simple, but don't fear to try it out in your own animations!
Anticipation helps communicate actions to the audience by preparing them for the next action.
Here I have a dragon model that has an anticipation stage. It builds up the roar/fire breath just before it happens:
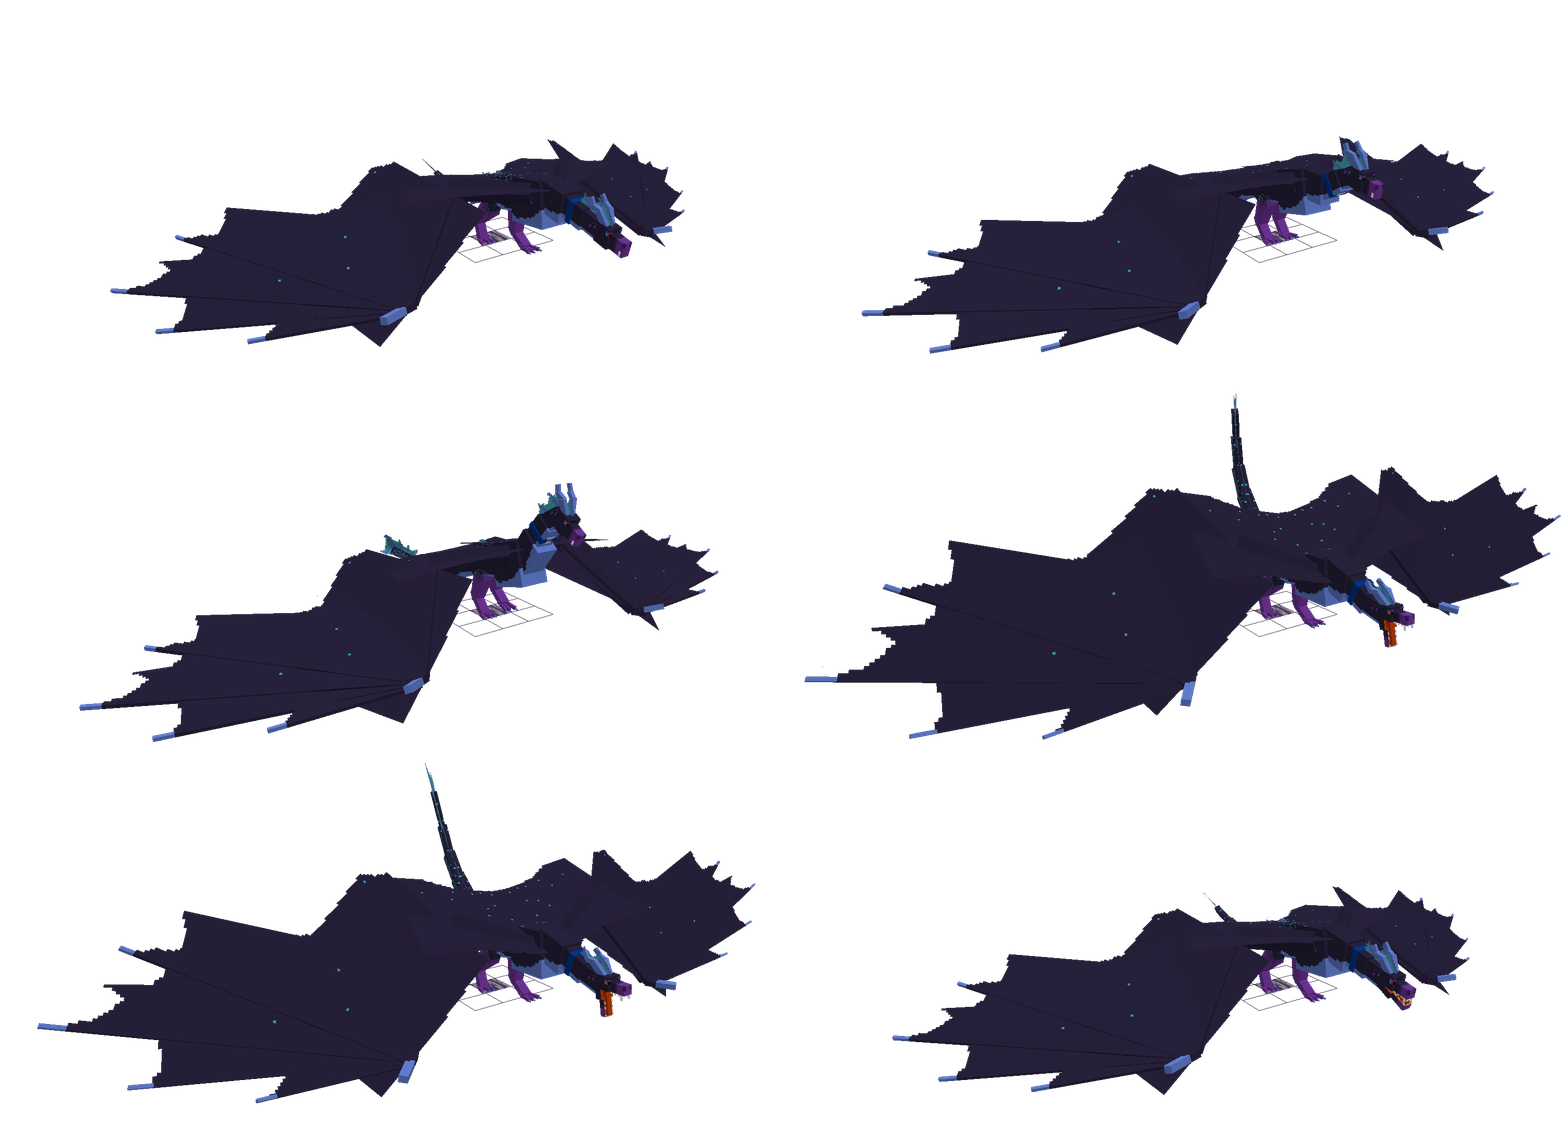
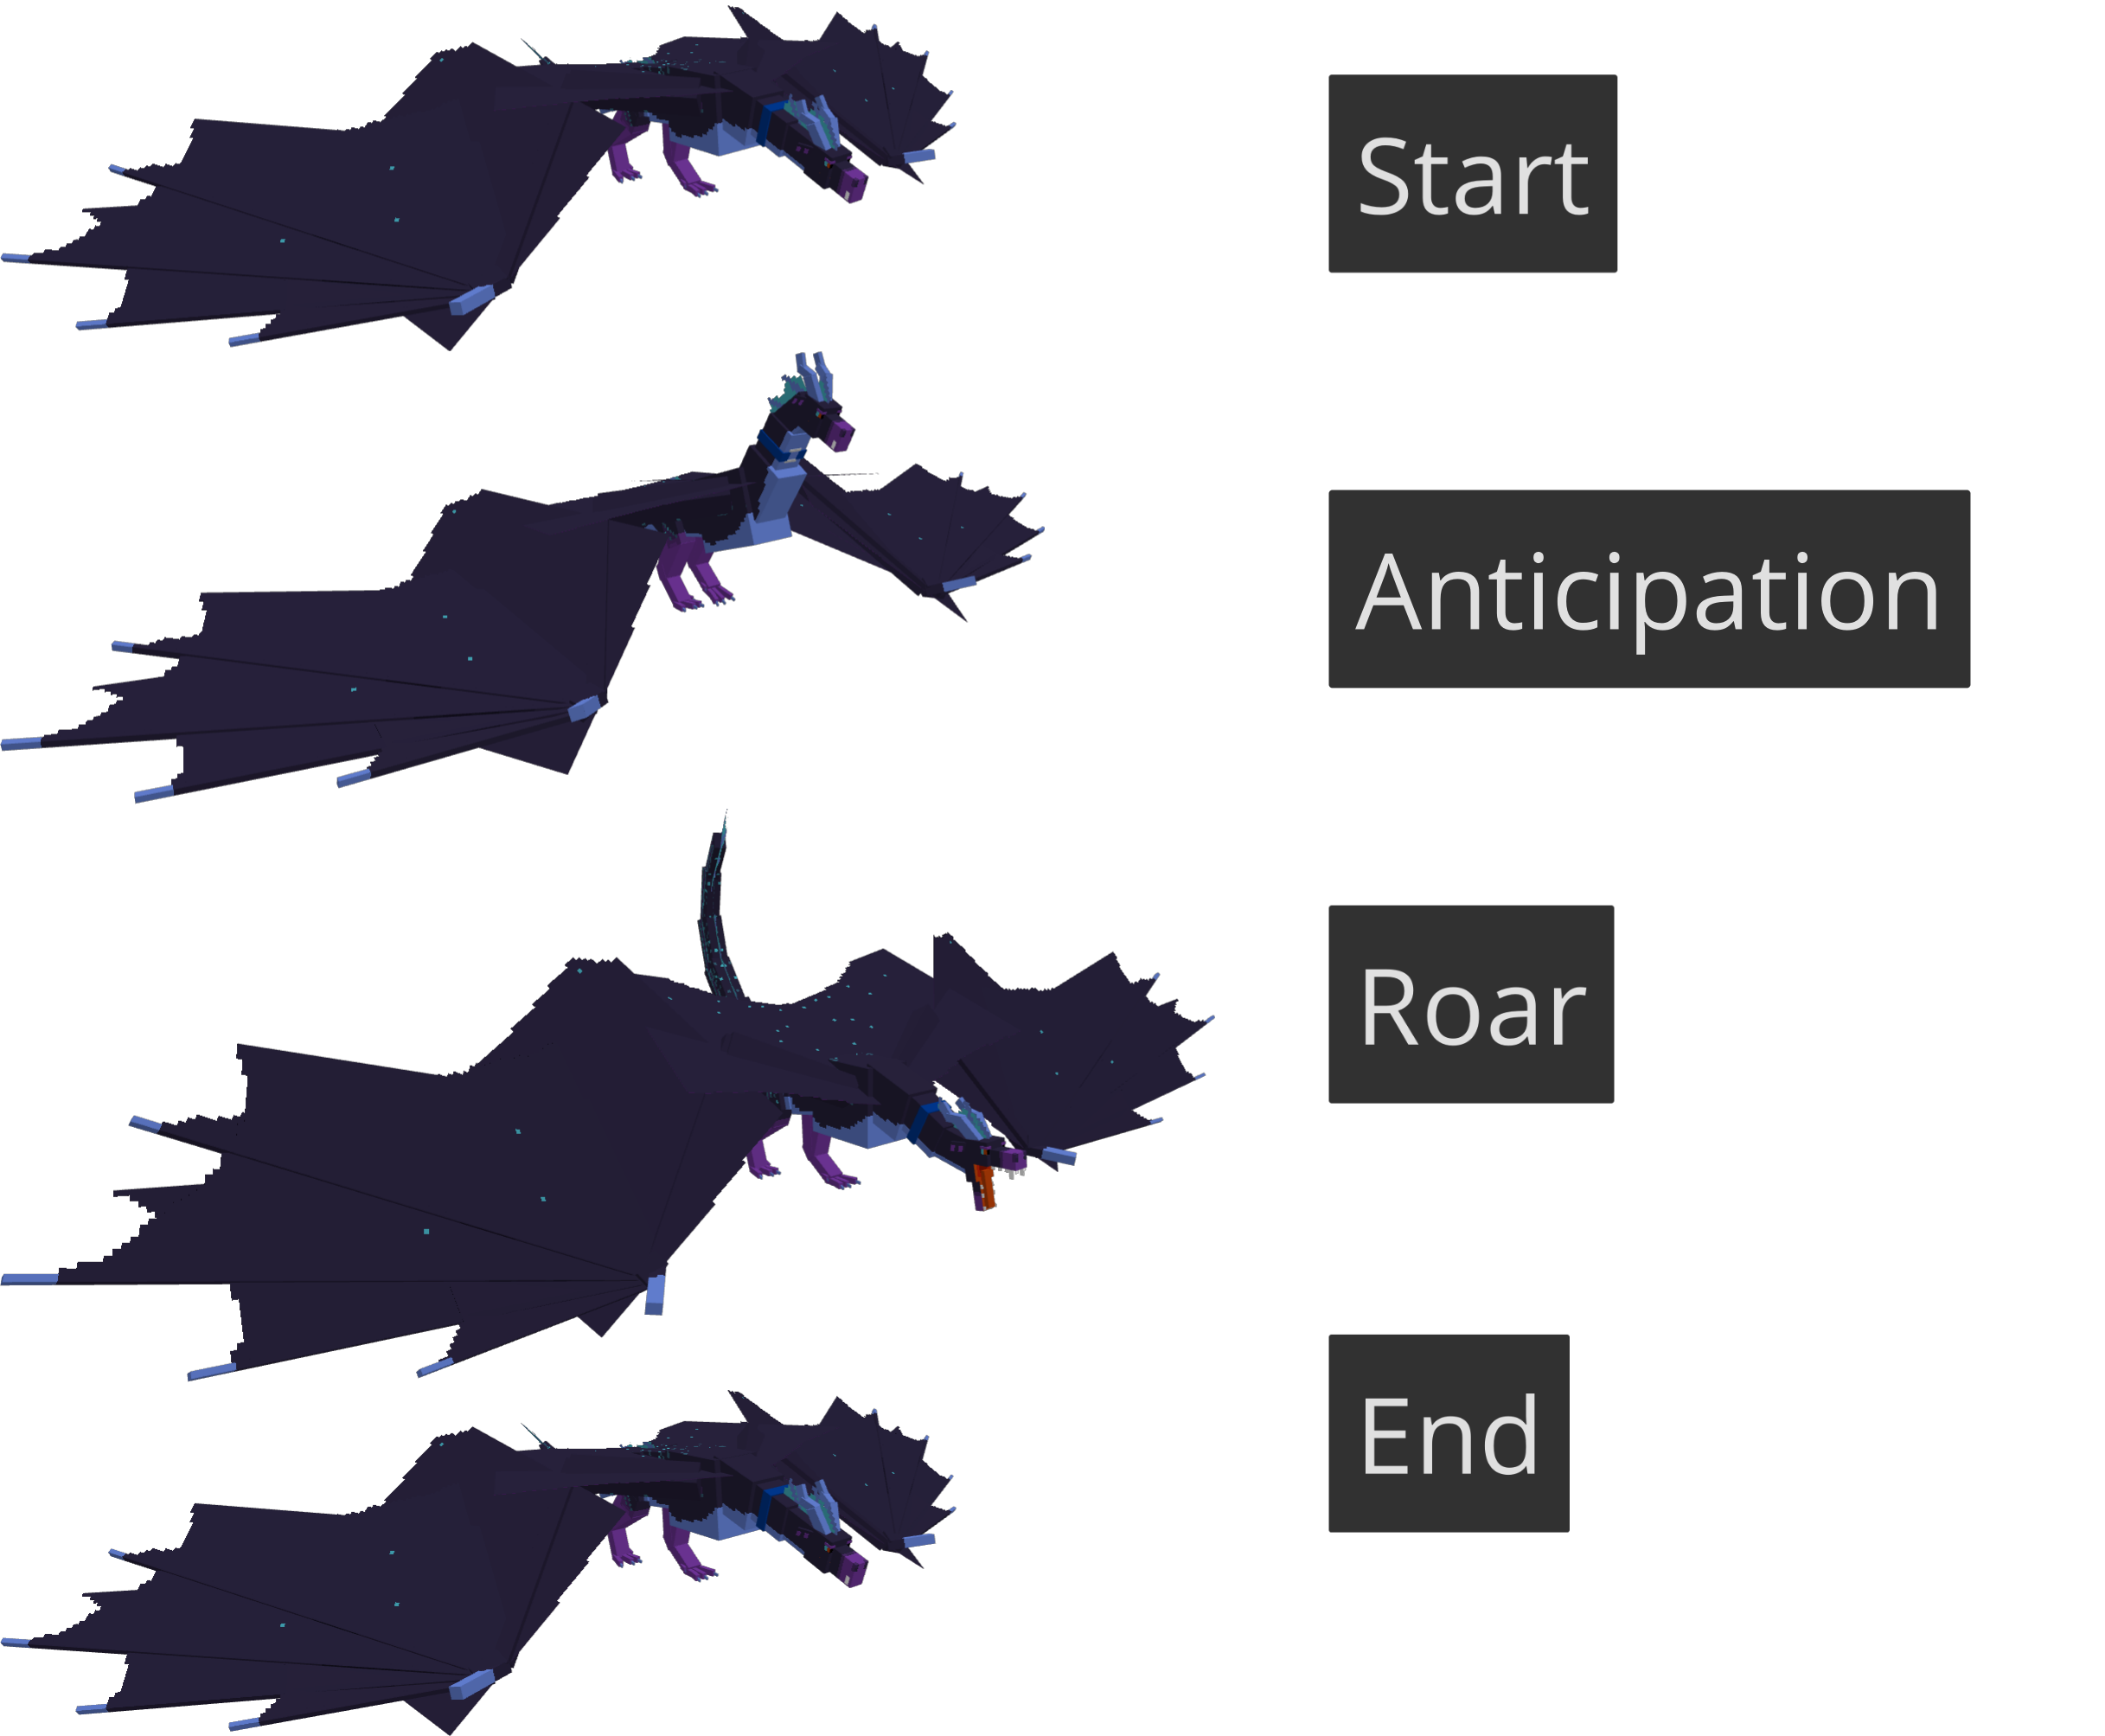
Since I play my animations in a constant loop, start and end position are always the same.
4. In-Betweens and Weight#
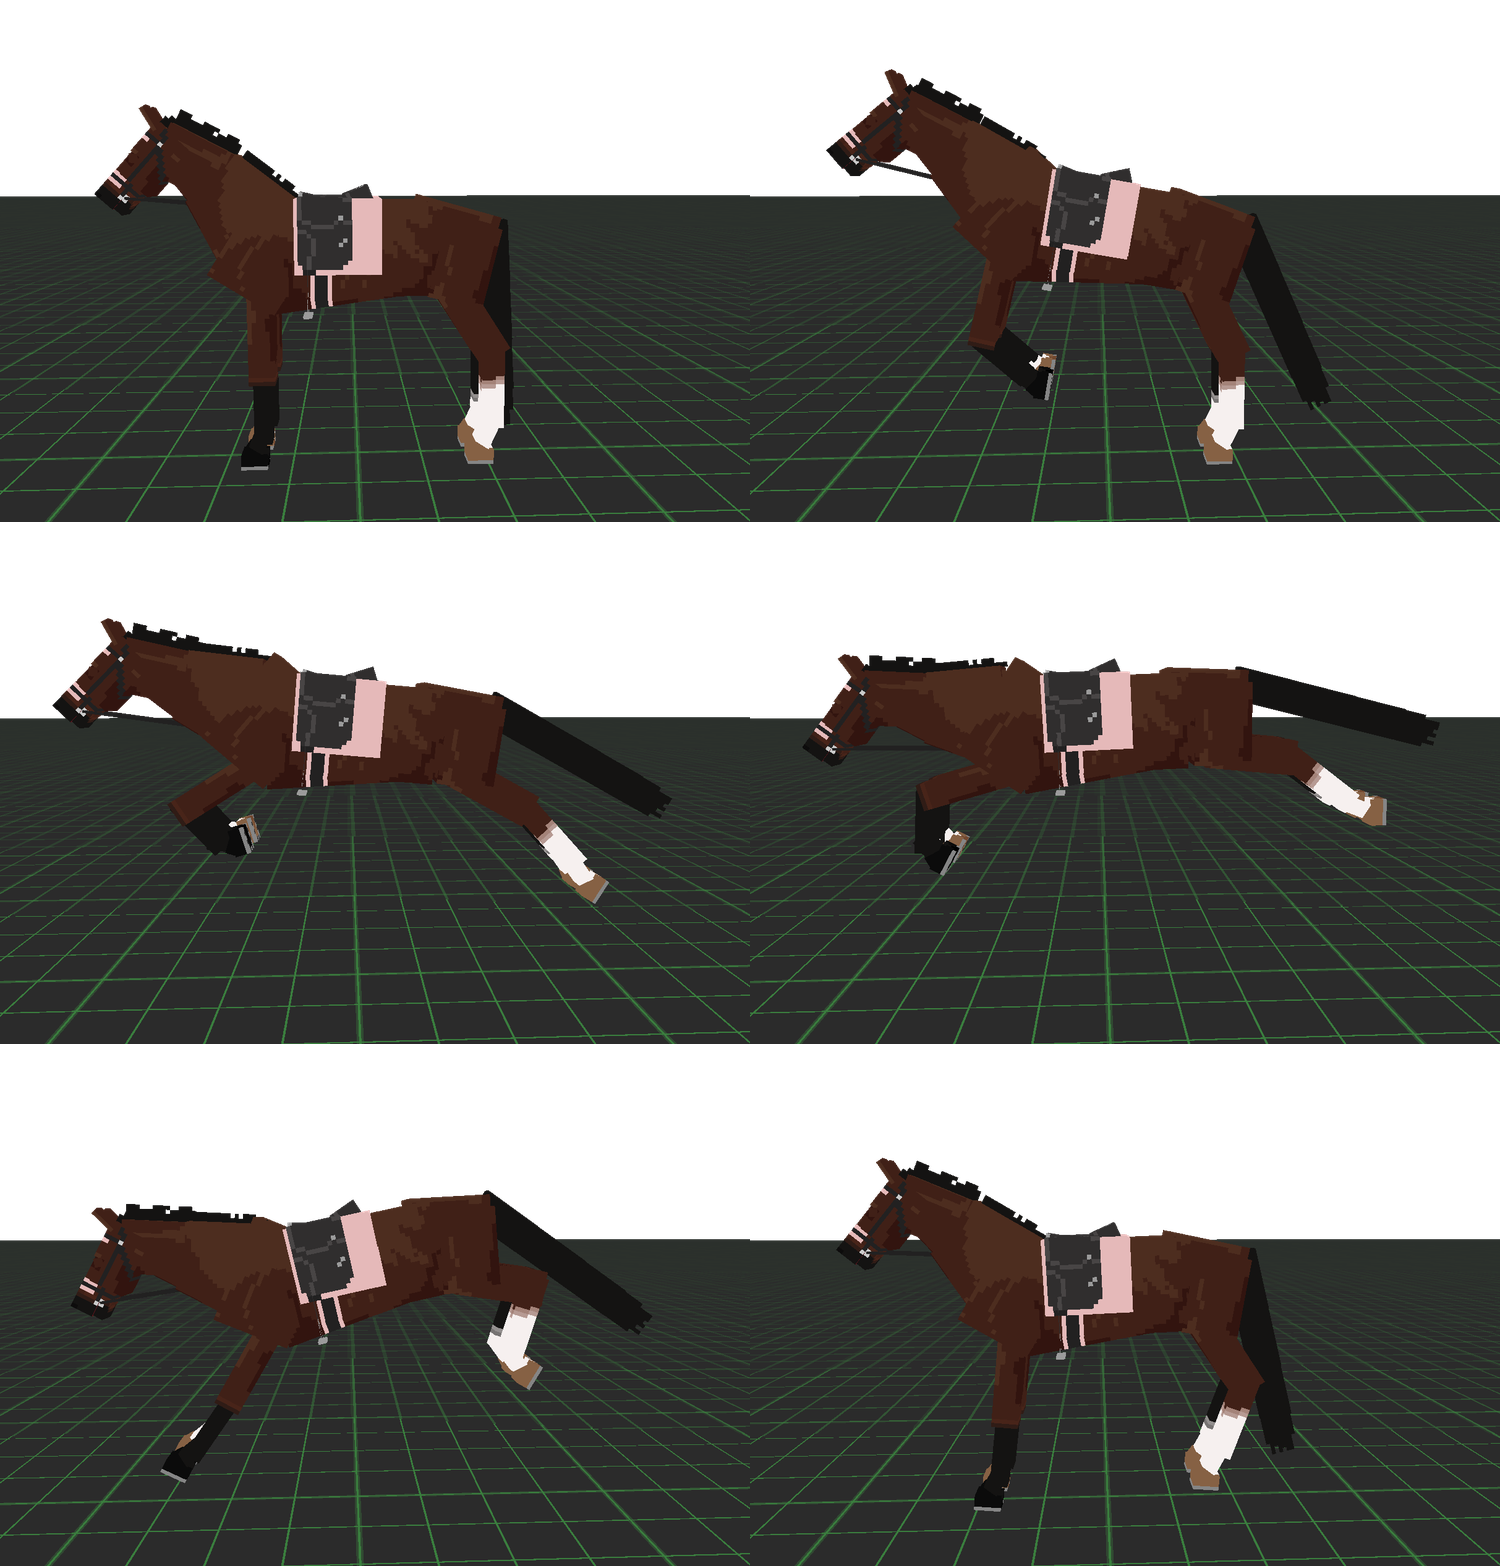
Now it visibly stands on the ground and pushes itself off. I continued using the mirror animation tool here to save time, that's why it looks so mechanical, which we will fix in the next step.
For this stage I usually turn the legs invisible and only animate the head, neck and body. That way I figured out the tilting and how the head is supposed to lead the whole thing. Then I add in-betweens for the legs to figure out their movement.
To make it "stand on the ground" you want to fix as many visible moments where the foot glitches into the ground. Blockbench has no sort of collision detection and in most cases it's totally okay if the model clips a bit into the ground for a split second - nobody will even realize. But for parts where someone could indeed realize, set some guidelines, use the grid pattern on the ground plane or set up some extra help cubes to position the feet correctly. In this state as you can see in the GIF, it still slides weirdly.
Leg animation#
Legs are the most difficult part of the animation, they bend into plenty directions and the more legs the more difficulties. That's why I thought a simple guide for legs in general could be helpful here.
For legs that walk, I use the order of:
first contact (the position where the leg reaches the furthest to the front and touches the ground)
ground (passing by from the front, usually on the ground or in a straight pose)
last contact (the furthest back the leg goes, while still on the ground)
passing (overtaking the other leg from behind, not touching the ground here)
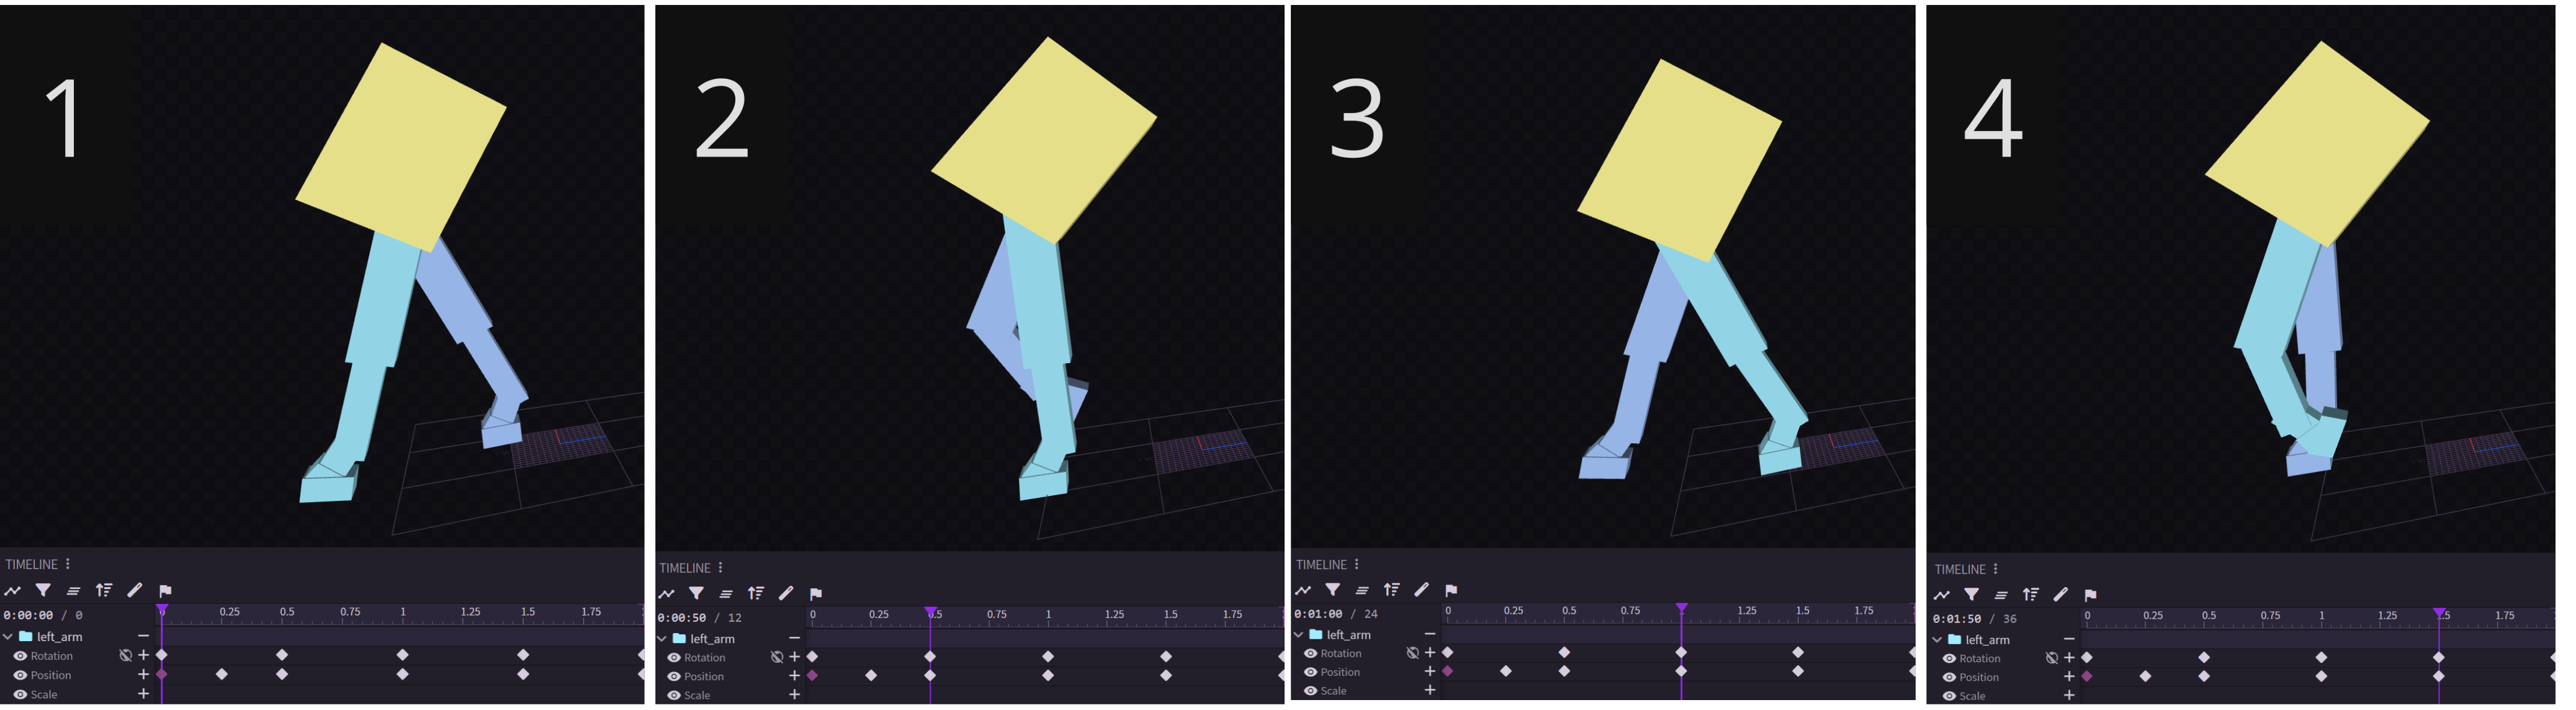
This is a simple walk cycle and shows the front legs of the horse. It focuses here on the light blue/left leg and the other dark blue/right leg moves with an offset, but goes through the exact same steps.
For legs with more time in the air, like running, I choose a similar pattern. Here are the legs of a bipedal character:
first contact (the first contact on the floor again)
last contact (already the last contact point on the ground)
airtime (the leg flies back and up)
passing (on the way back to the front, passing the other leg)
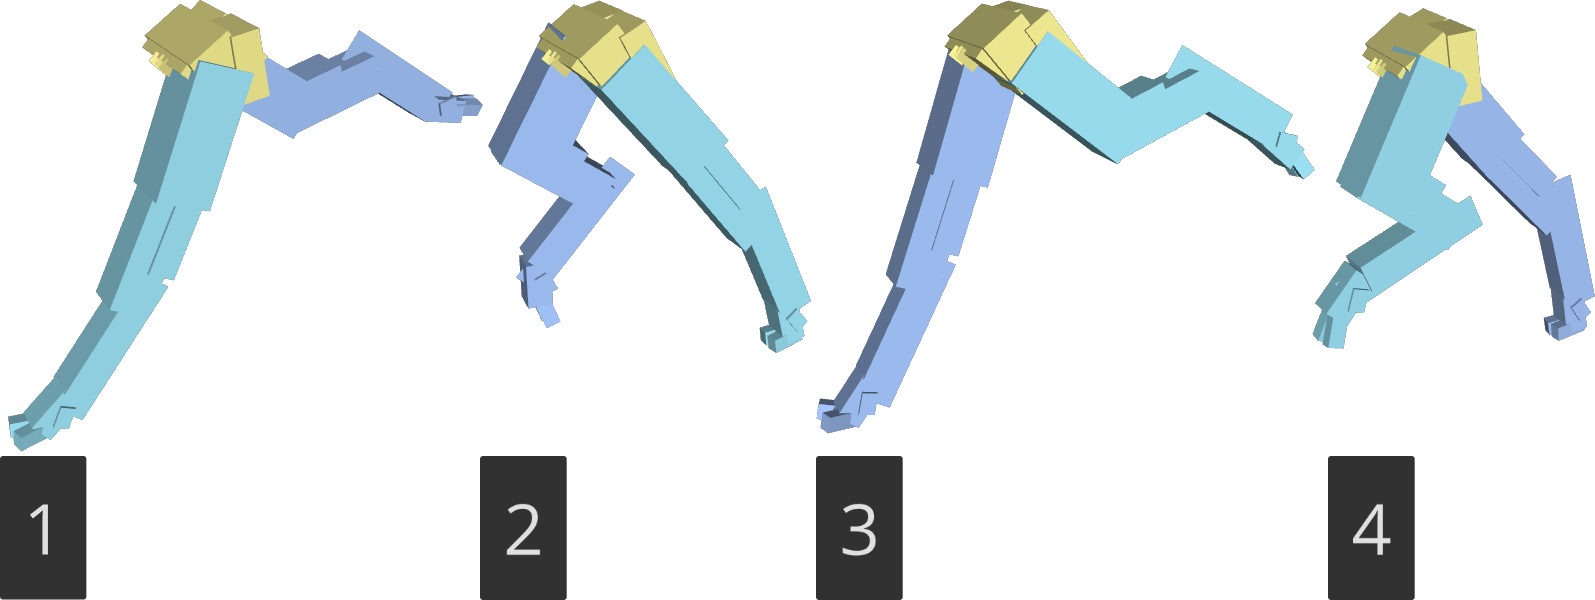
For a quadrupedal creature this would look different. But since horses, dogs, cats, crocodiles etc run very differently, I can't list them all here. Just make sure to look on references and experiment with different body weight and amount of flexibility.
5. Refining#
The final step! The "technical stuff" is done by now, the rest are details and refining.
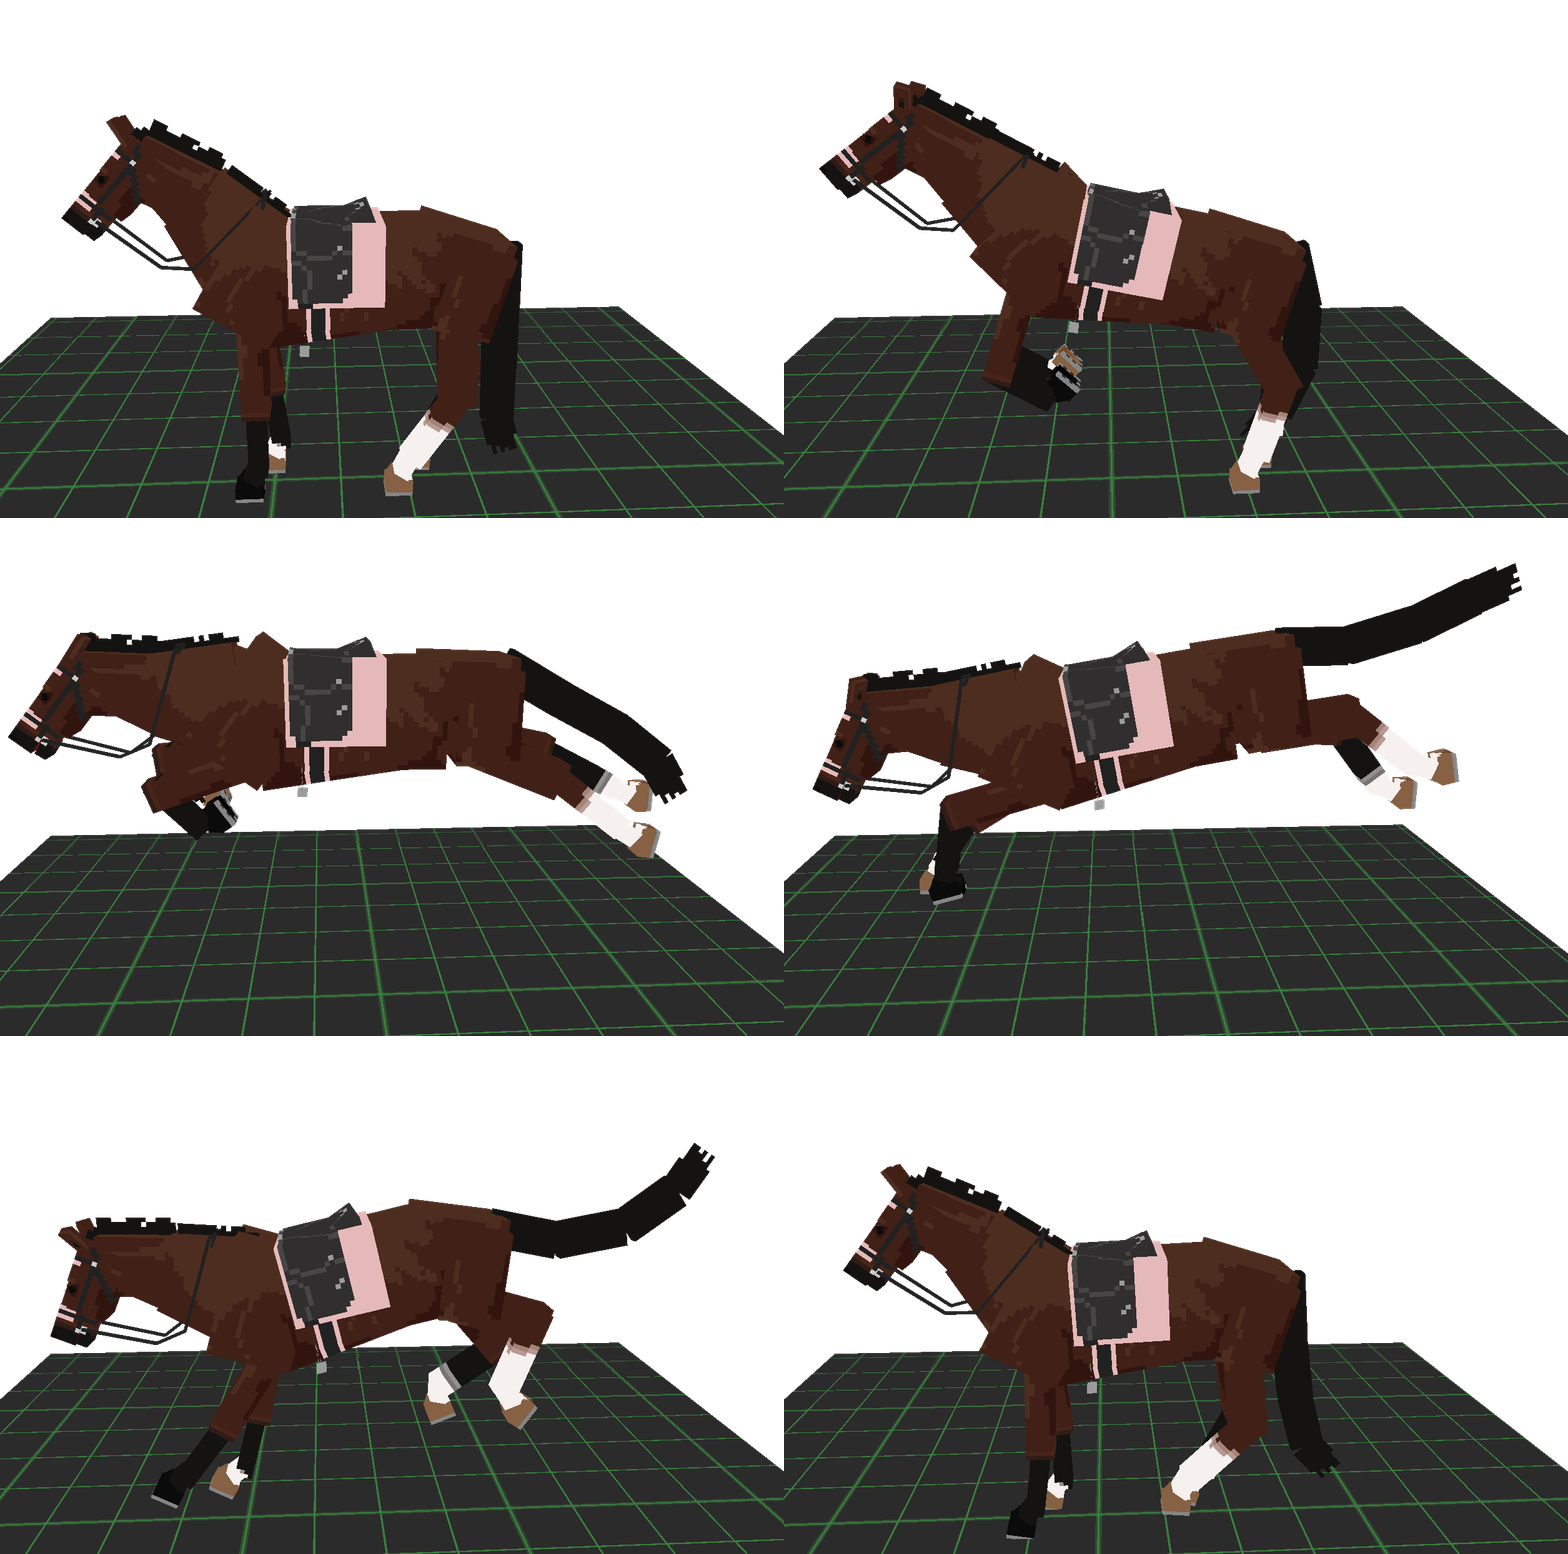
Offset#
The legs don't move completely parallel anymore, which makes it look more natural. For smooth walking animations you can use the Blockbench mirror animating tool and enable the "Phase Offset" there. That will perfectly mirror the animation from the left leg to the right leg, so you only have to do it once.
Drag#
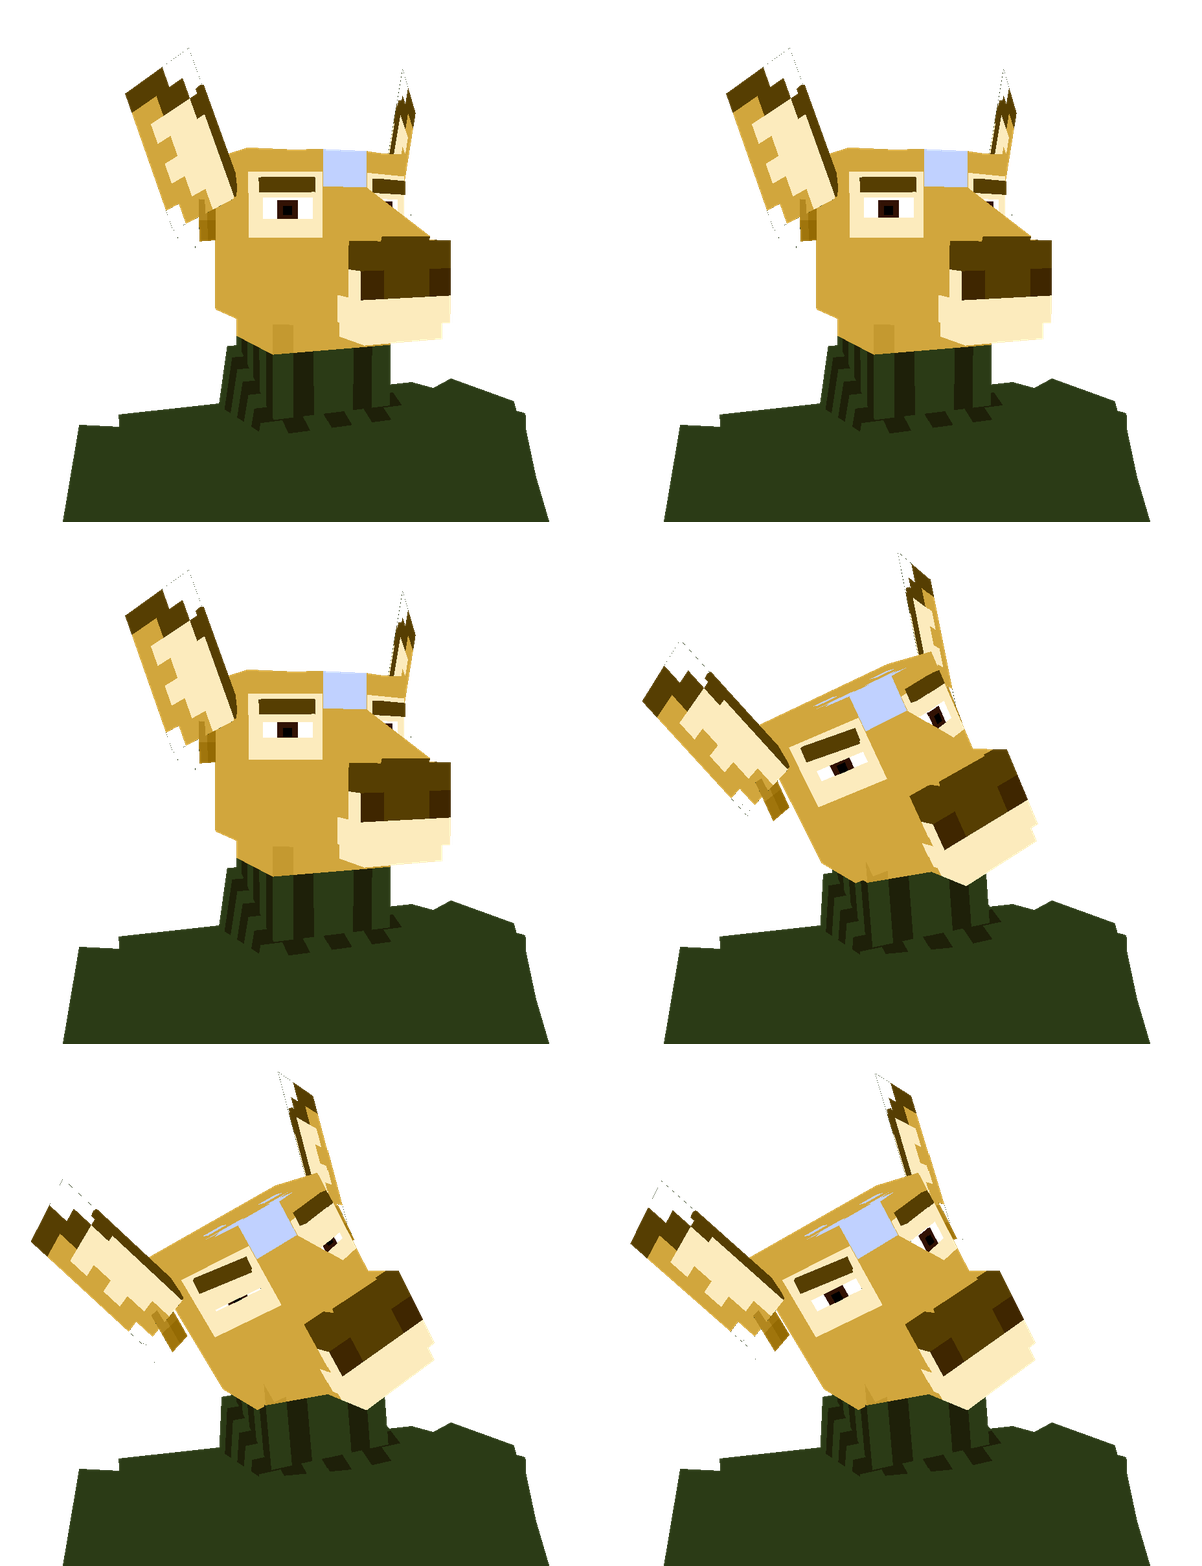
Drag means how a bone follows another, when its parent is moved.
You can see it here with the ears: The wobble they do, just by following the head. Well, it's still all keyframes since I don't use any kinematics here. I animate it by following the motion from the parent bone with a little offset timewise. Especially ears work great with that, but also loosely swinging tails and arms.
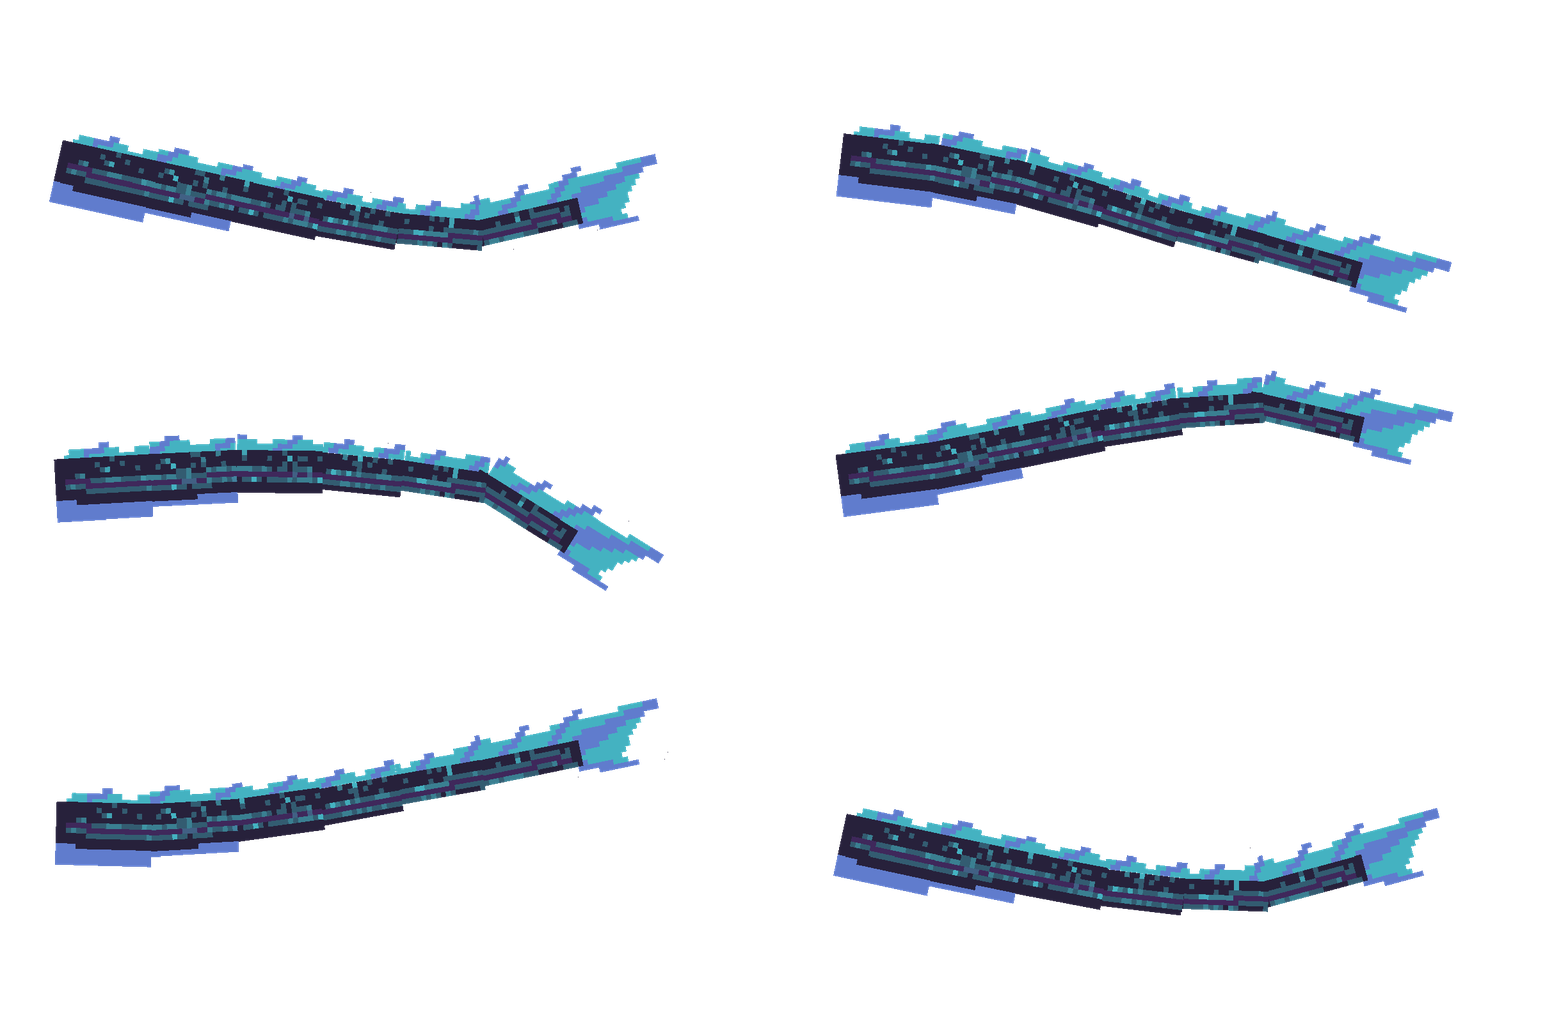
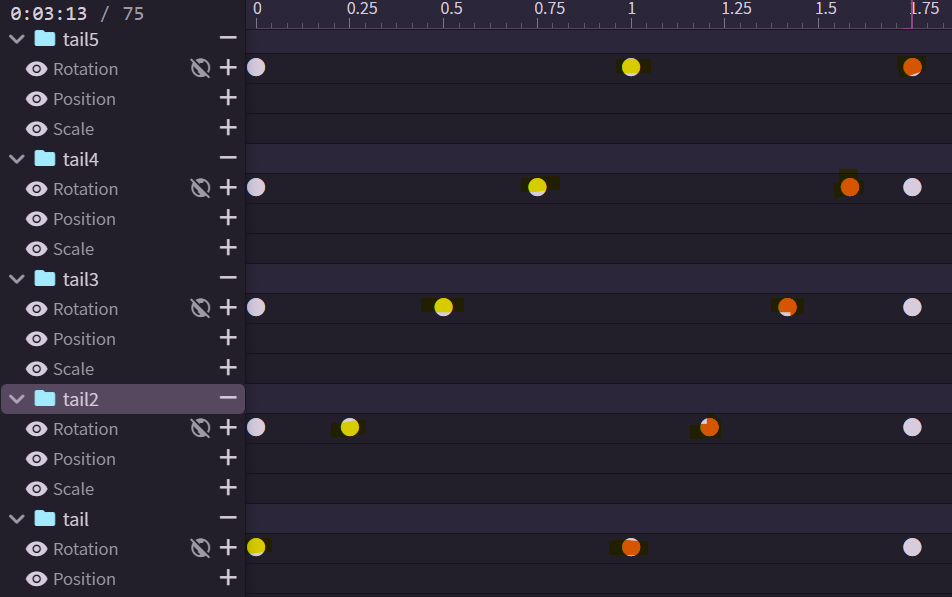
The "tail" is parent of "tail2", "tail2" is parent of "tail3" and so on.
Here the yellow marked keyframes are the down movement and the orange keyframes are the up movement. They move with an offset after each other, not at the same time. The slightly tricky part are the start and end keyframes for the bones, you can either calculate the correct rotation or just choose what looks fine.
For the tip of the tail I made it drag a bit more and added in-betweens to have it move even more. Lighter parts (like the thinner end of the tail) will move more than heavy parts, like the base of the tail.
Smoothing#
Because I made a horse here and wanted it to look more smooth in general, I changed my keyframes in the end from linear to smooth. For entities this is great in most situations, especially swimming or something similar "floaty". All it does is it changes the easing. I found this nice GIF that shows it in a simple way, how easing changes the transition between keyframes:
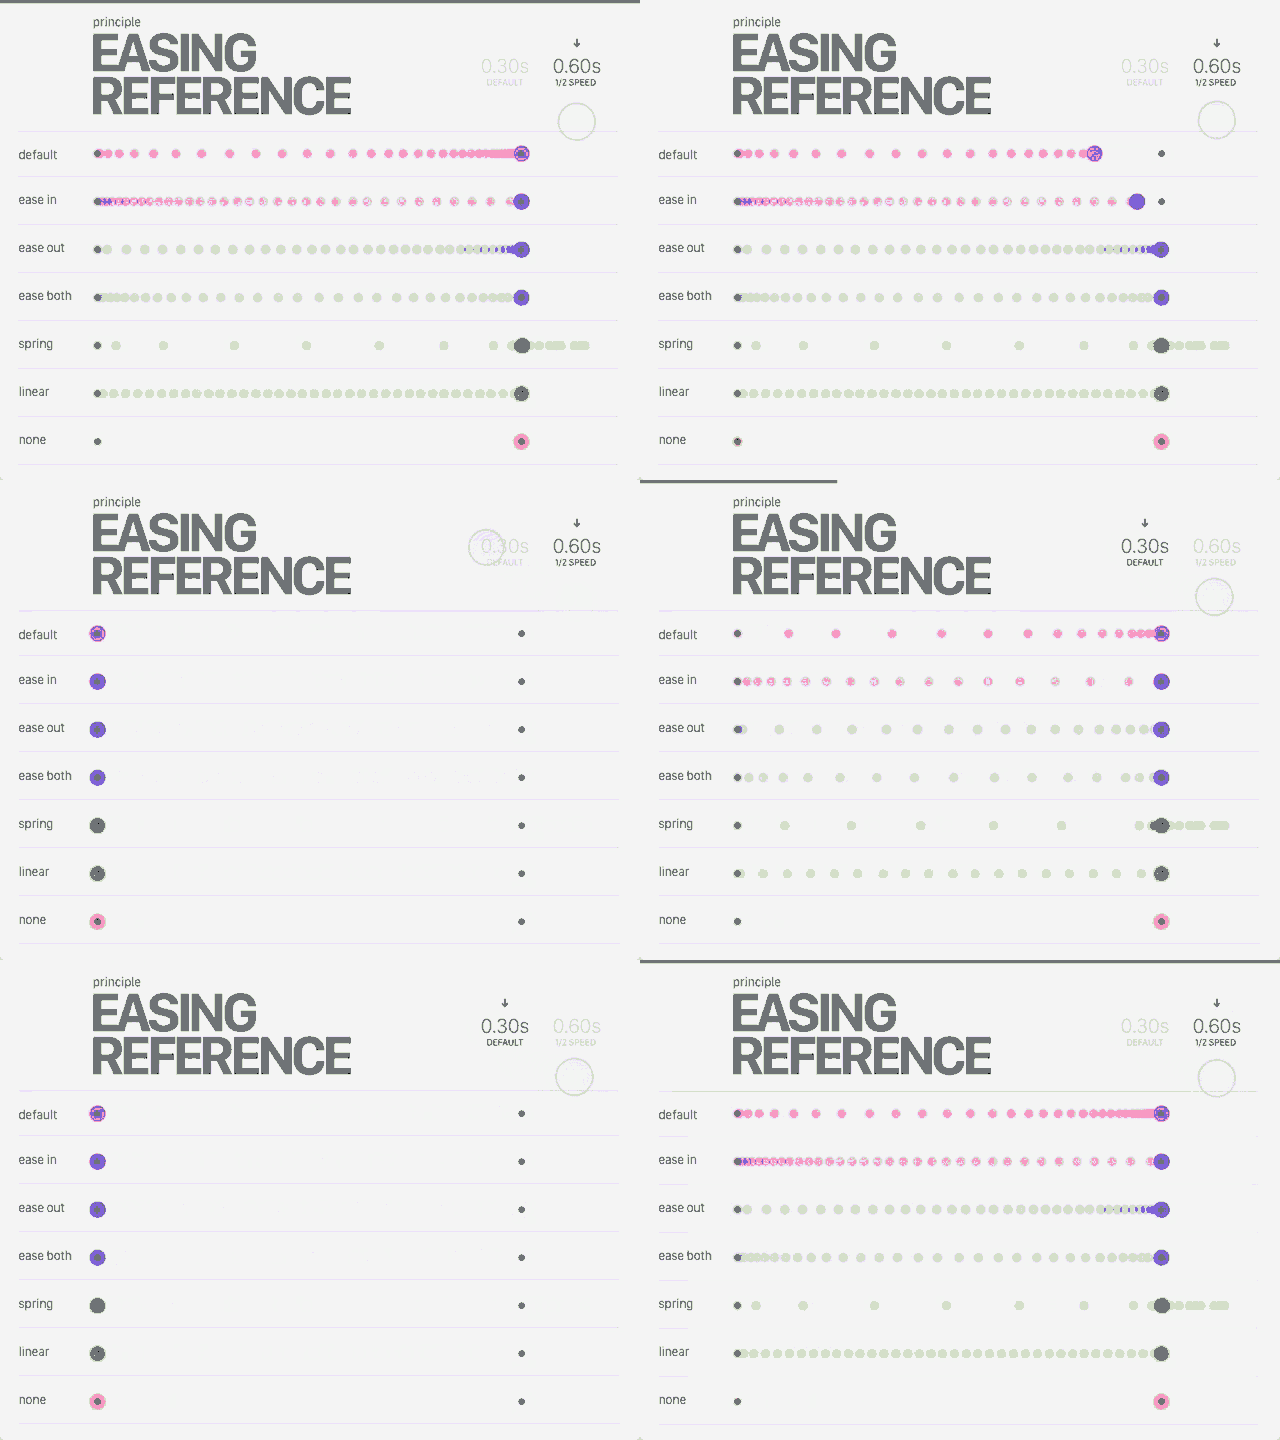
The smooth option in Blockbench uses what is here labeled as "ease both". Also knows as "ease in-out". You can play around with the easing and create different effects with mathematics behind the scenes!
6. End#
That's it! Thank you for reading my little tutorial, I hope it helped with your journey through animating entities in Blockbench. If you have questions or any kind of feedback, feel free to leave a comment!
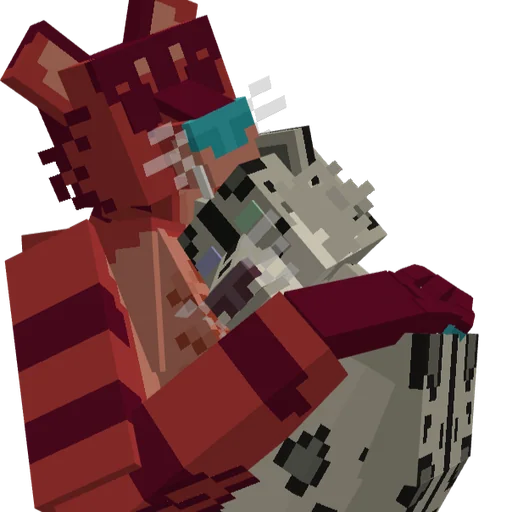
Please remember that this is just my personal workflow and experience, I have never proffessionally learned animation and this is just how I approach animating in Blockbench. Here is a bunch of walking and running animations (and one dragon demanding belly rubs) of my recent work:
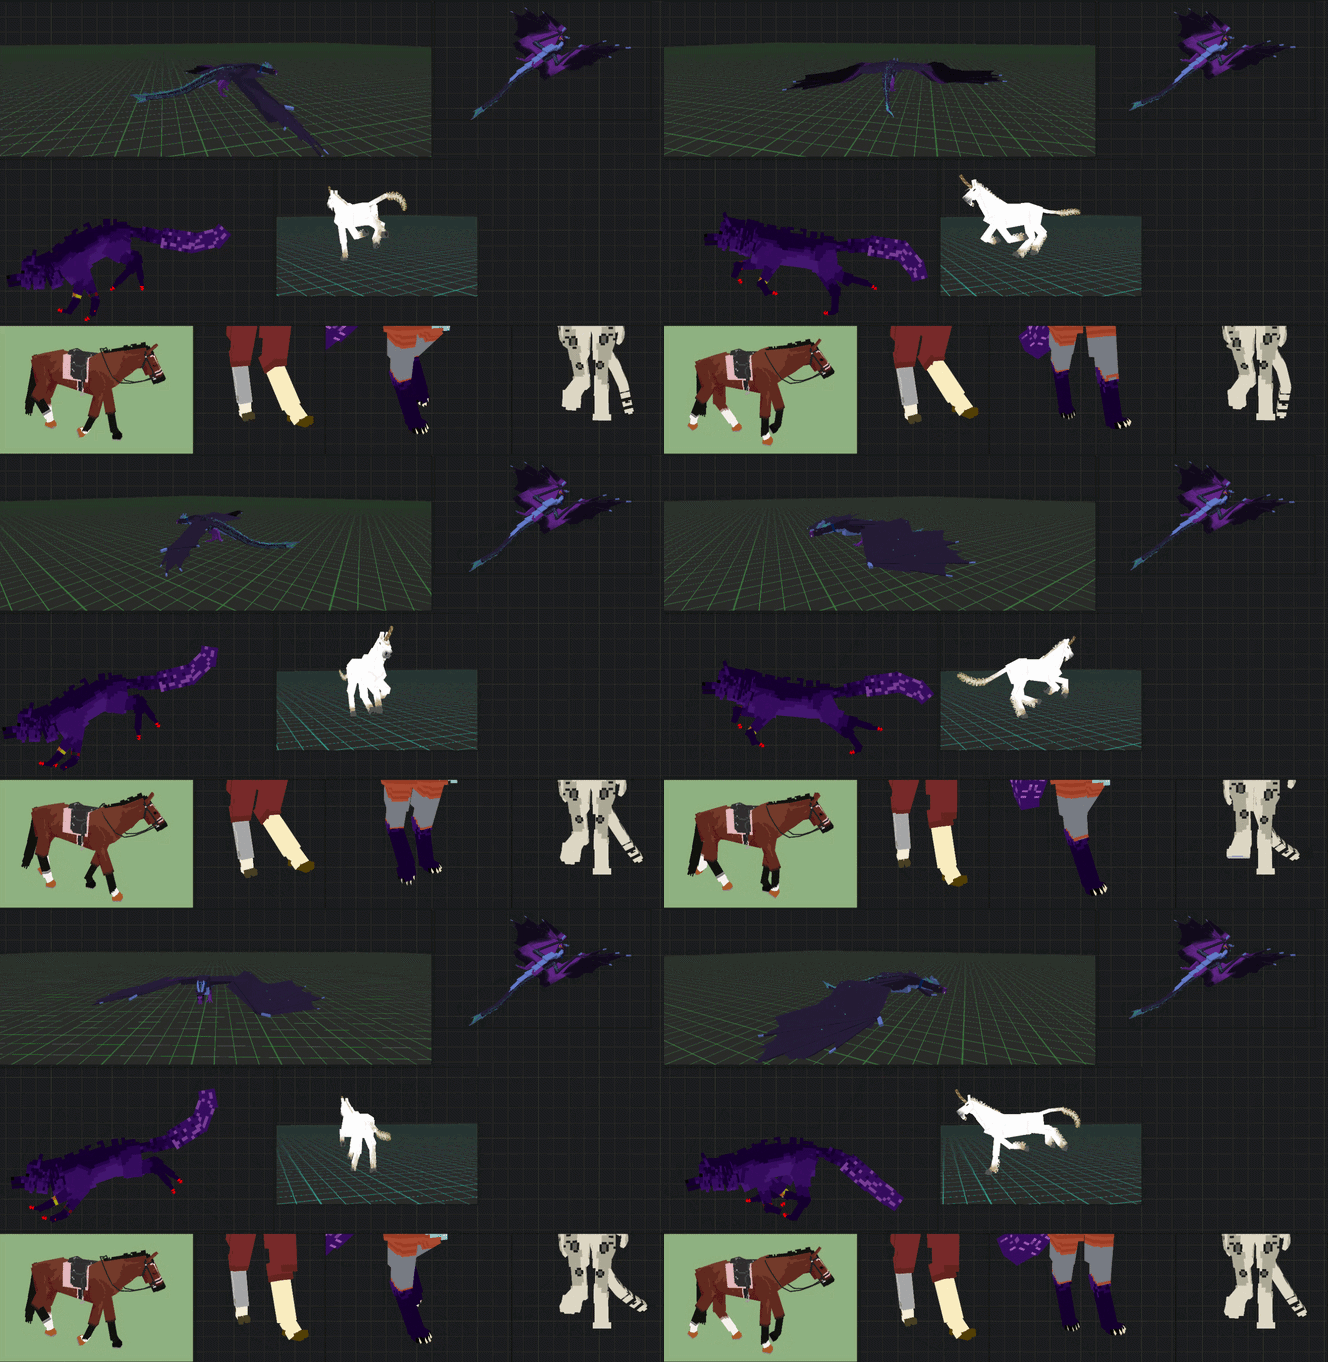
By the way, you can find a similar rig of what I use here for the horse on my profile; free to download!
-> https://blockbenchworkshop.com/model/sylvain_35/wild-unicorn
0 comments
No comments yet. Be the first to say something.