How to make a Minecraft Mod with NeoForge (Beginner)
A beginner friendly step by step guide on how to make your first minecraft mod with Neoforge that adds a new mob to the game with Geckolib


Your First Mod With NeoForge and Blockbench
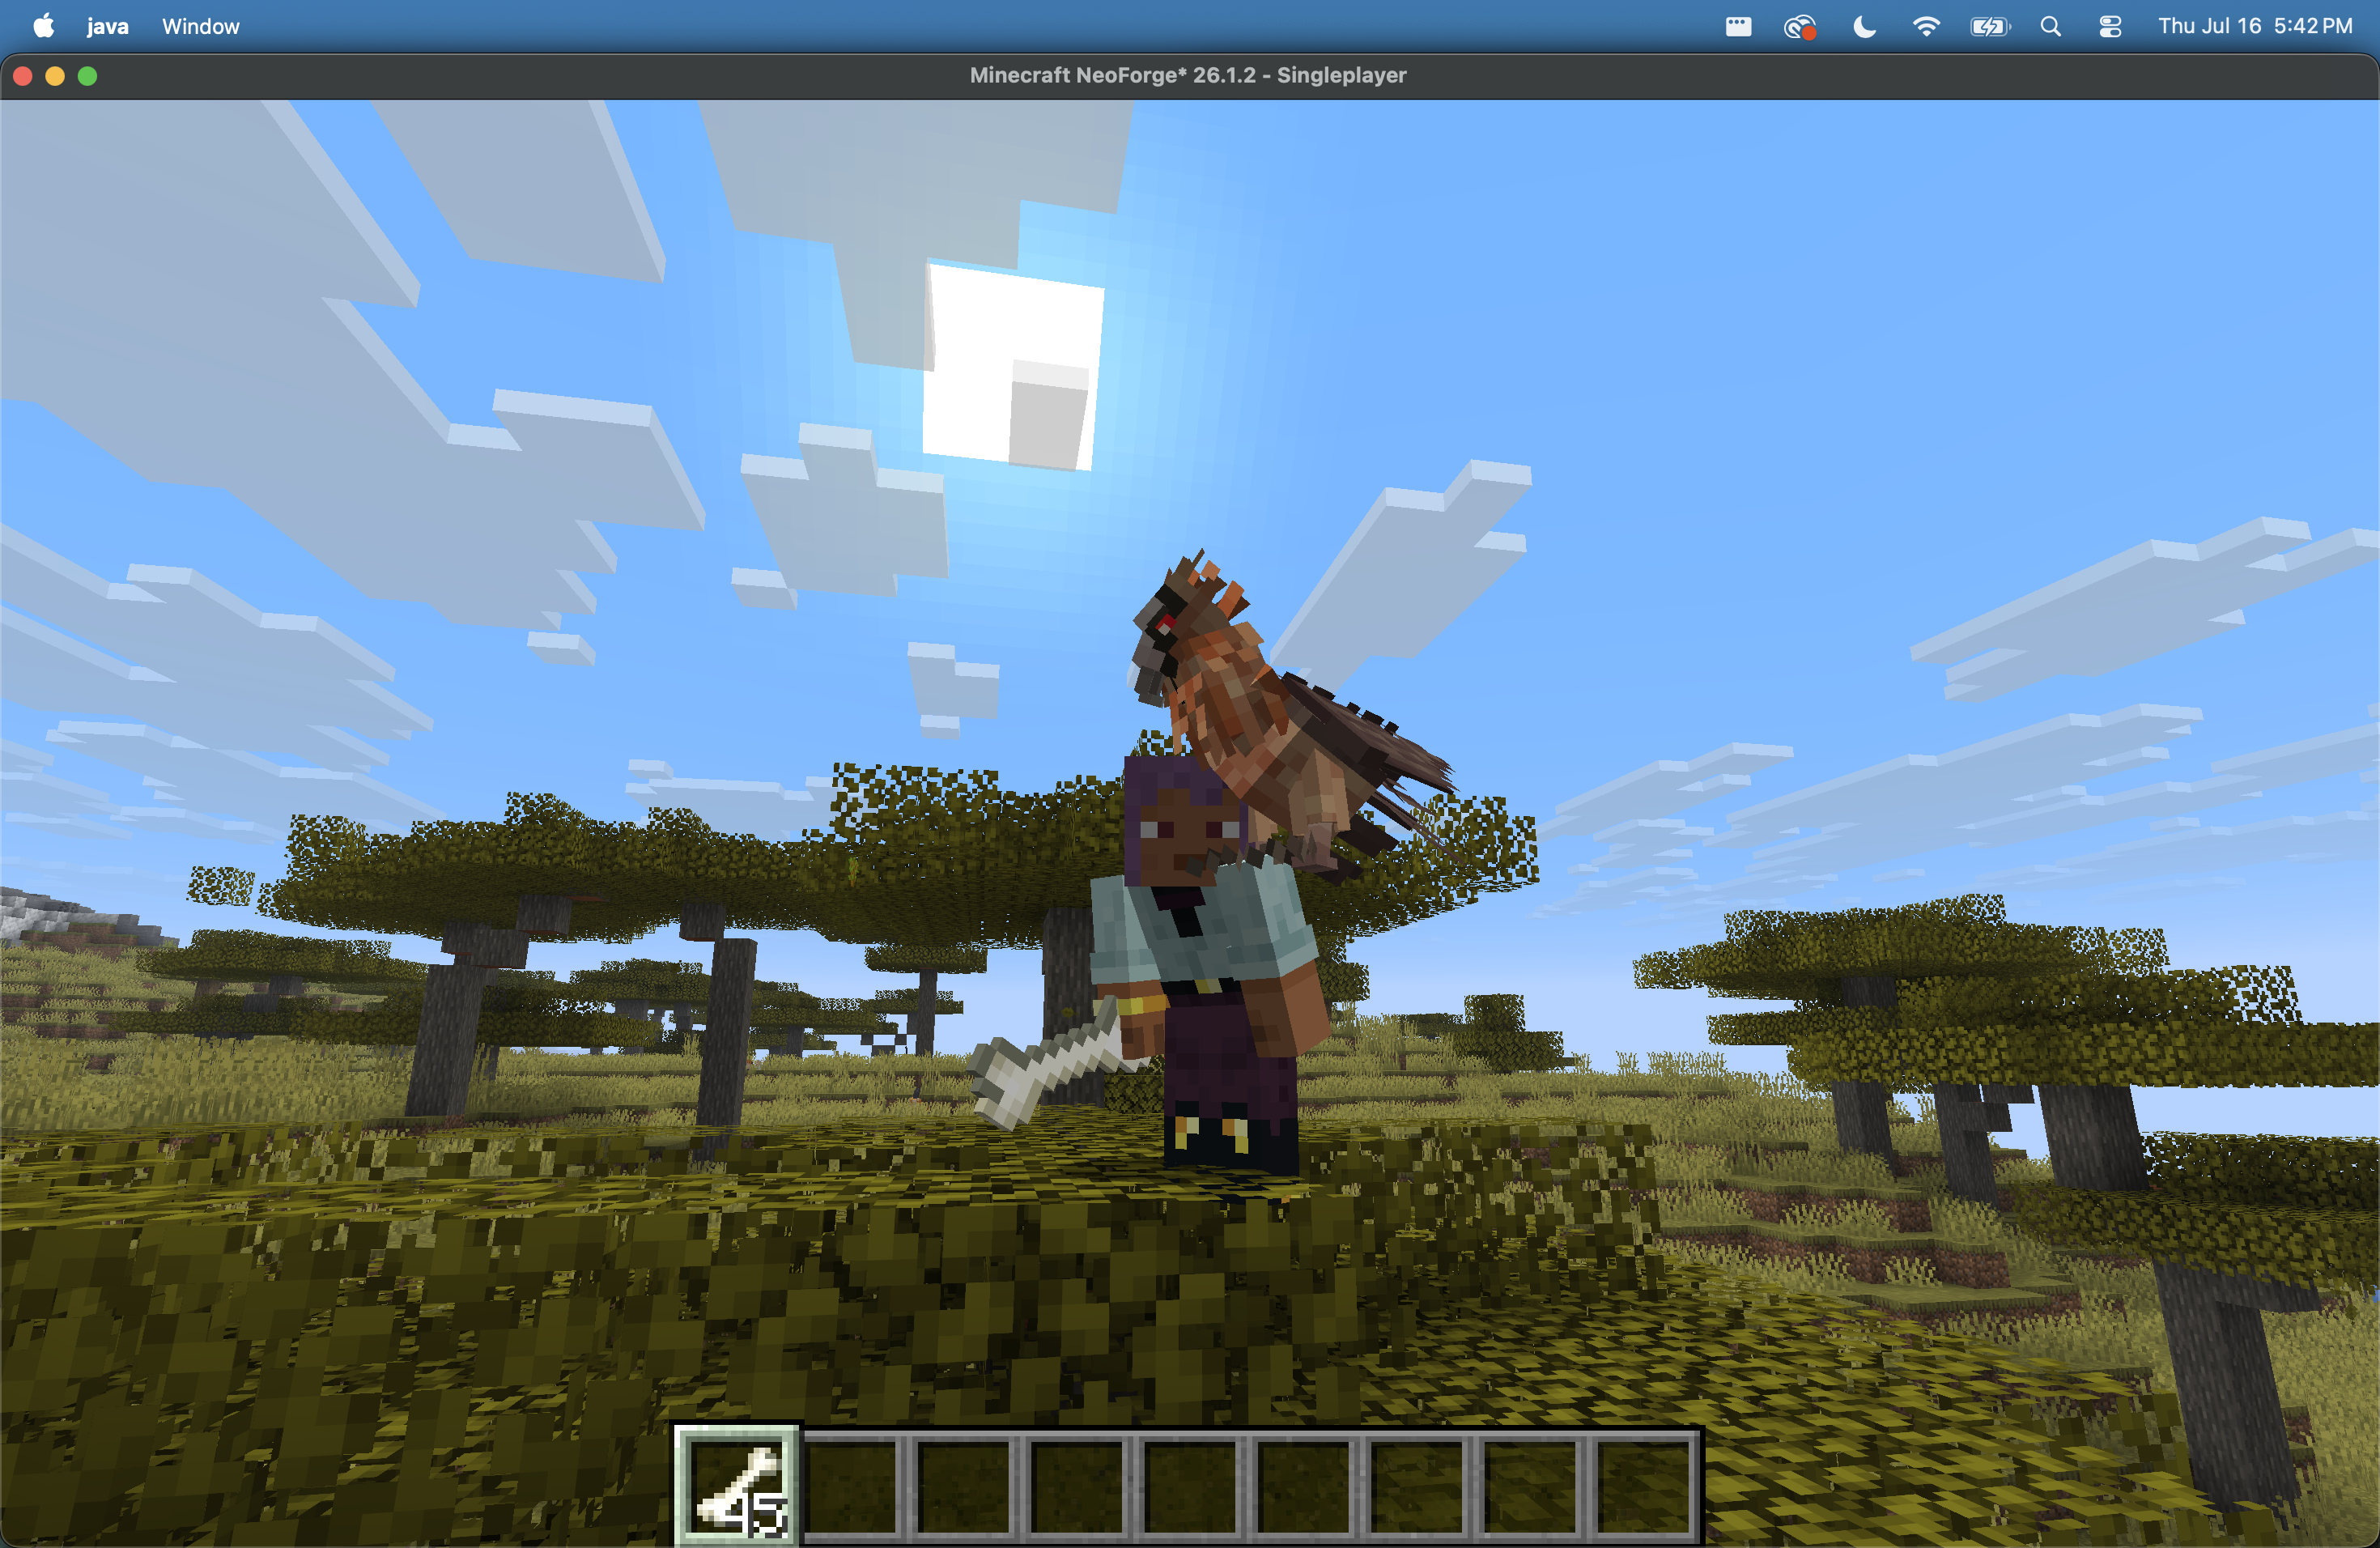
By the end of this guide you will have a gazelle walking around your world: a model you opened in Blockbench, animated with GeckoLib, spawned from a spawn egg you added to the creative menu. It idles when it stands still, switches to a walk animation when it moves, panics when you hit it, follows you when you hold wheat, and breeds into babies.
It takes about 30 minutes, not counting the first Gradle download, which can add another 10 to 20 minutes on a slow connection.
The guide is in two parts on purpose. Part 1 gets an empty mod loading in game before you write a single line of mob code. That way, if something breaks in Part 2, you already know your toolchain is fine and the problem is the mob.
How to read the code blocks. Every block has a caption telling you the file and what to do with it: New file, Add to, Replace in, or Verify only. Pasting an Add to block as a whole file is the most common way to break this tutorial, so check the caption before you paste.
Callouts come in three flavors:
Note: helpful context. Safe to skim.
⚠️ Warning: this fails loudly, and the error message is quoted so you can recognize it.
🚨 Silent failure: nothing errors, nothing turns red. The game just quietly does the wrong thing. These are the ones that cost you an afternoon.
Before you start#
Required software
JDK 25 (64-bit) from Eclipse Temurin, or Microsoft's OpenJDK build
Blockbench, free, for the model and animations
IntelliJ IDEA Community Edition (free) or Eclipse
A copy of Minecraft, so you can play with what you make
The version stack
These four versions are tested together. Mixing in other versions is the fastest way to get errors that make no sense.
ComponentVersionMinecraft26.1.2NeoForge26.1.2.80GeckoLib5.5.2JDK25
⚠️ Warning: use JDK 25 exactly. A newer JDK fails. Gradle cannot run on JDK 26 and dies before it ever reaches your mod code, with an error that looks nothing like a Java version problem:
BUG! exception in phase 'semantic analysis' … Unsupported class file major version 70If you see that, you are on JDK 26 or newer. Point your IDE's Gradle JVM at JDK 25 (Settings › Build Tools › Gradle › Gradle JVM), or set
JAVA_HOMEto your JDK 25 path before running./gradlew.
Part 1: Get your mod running#
Step 1: Generate the project#
Open the NeoForge Mod Generator.
Fill in:
Mod name:
First ModMod ID:
firstmod(lowercase, no spaces, this becomes your namespace)Package:
com.example.firstmod
Choose Minecraft 26.1.2 and the ModDevGradle plugin.
Download the ZIP, unzip it, and open the folder in your IDE.
Set the Gradle JVM to JDK 25 (Settings › Build Tools › Gradle › Gradle JVM), then let the Gradle sync finish. It downloads Minecraft and NeoForge, so the first run takes a while.
✅ Checkpoint: the Build window finishes with no red errors. If you prefer the terminal,
./gradlew buildprintsBUILD SUCCESSFUL. Do not continue past a failed sync, because every later step depends on this working.
Step 2: Tour the project#
firstmod/
├─ gradle.properties          # mod id, name, versions
├─ build.gradle               # dependencies & run configs
└─ src/main/
   ├─ java/com/example/firstmod/
   │  └─ FirstMod.java        # main mod class (@Mod)
   └─ resources/
      ├─ META-INF/
      │  └─ neoforge.mods.toml # mod metadata
      └─ assets/firstmod/      # textures, models, lang
Verify only: gradle.properties
minecraft_version=26.1.2
neo_version=26.1.2.80
mod_id=firstmod
mod_name=First Mod
mod_group_id=com.example.firstmod
Confirm these match the version table. If they do not, you picked a different Minecraft version in the generator. Go back and regenerate rather than editing them by hand, because the generated files have to agree with each other.
Note: some generated projects put the metadata at
src/main/templates/META-INF/neoforge.mods.tomland fill in the${...}placeholders fromgradle.propertieswhen they build. If that is what you have, edit that file instead. The two are equivalent, and the GeckoLib block in Step 3 goes in whichever one your project actually has.
Here is the class the generator made for you. It is the entry point: NeoForge finds the @Mod annotation and calls this constructor during startup.
Verify only: src/main/java/com/example/firstmod/FirstMod.java
package com.example.firstmod;

import net.neoforged.bus.api.IEventBus;
import net.neoforged.fml.ModContainer;
import net.neoforged.fml.common.Mod;

@Mod(FirstMod.MODID)
public final class FirstMod {
    public static final String MODID = "firstmod";

    public FirstMod(IEventBus modBus, ModContainer container) {
        // We'll register our mob here in Part 2.
    }
}
Step 3: Add GeckoLib#
GeckoLib is the engine that plays Blockbench animations in game. Without it your model would render, but it would stand frozen.
It lives on Cloudsmith rather than Maven Central, so you have to tell Gradle where to look.
Add to build.gradle, inside the existing repositories { } block:
// GeckoLib 5 (group com.geckolib) lives on Cloudsmith
maven { url = 'https://dl.cloudsmith.io/public/geckolib3/geckolib/maven/' }
Add to build.gradle, inside the existing dependencies { } block:
implementation "com.geckolib:geckolib-neoforge-${minecraft_version}:5.5.2"
⚠️ Warning: add these inside the blocks that are already there. Pasting a second
repositories { }ordependencies { }block, or replacing the existing one, breaks the build in confusing ways.
Now declare GeckoLib in your mod metadata. This makes the game refuse to start with a clear message when GeckoLib is missing, instead of crashing later with a stack trace.
Add to the end of neoforge.mods.toml:
[[dependencies.firstmod]]
    modId="geckolib"
    type="required"
    versionRange="[5.5.2,)"
    ordering="AFTER"
    side="BOTH"
versionRange="[5.5.2,)" means "5.5.2 or newer". ordering="AFTER" means GeckoLib loads before your mod does, which matters because your code calls into it during startup.
Re-run the Gradle sync (in IntelliJ, click the elephant icon that appears, or Gradle panel › Reload All Gradle Projects).
✅ Checkpoint: the sync succeeds. If it fails with
Could not resolve com.geckolib:geckolib-neoforge..., the repository URL is wrong or landed in the wrong block. Fix it before continuing.
Step 4: Run it#
From the Gradle panel run the runClient task, or from a terminal:
./gradlew runClient
✅ Checkpoint: you are done with Part 1 when Minecraft opens and the Mods menu lists both First Mod and GeckoLib. If GeckoLib is missing, the dependency in Step 3 was not picked up. Re-check
build.gradleand sync again.
Close the game before moving on. Code changes do not hot reload, so you will relaunch at the end of Part 2.
Part 2: Add your first mob#
Step 5: Prepare the gazelle in Blockbench#
Open Blockbench and install the plugin that exports GeckoLib formats: File › Plugins, search for GeckoLib Animation Utils, click install.
Option A: Use the ready-made gazelle (recommended)#
Open the gazelle model by @monkus and click Download .bbmodel.
In Blockbench: File › Open Model, and pick the file you downloaded.
File › Convert Project › GeckoLib Animated Model.
Open the Animate tab. The model ships with over a dozen animations, but this tutorial only uses two, and they have to be named exactly right. Rename:
idle1toidlemovetowalk
🚨 Silent failure: do not skip the rename. This is the single most common way this tutorial fails. The names in the animation file and the strings in your Java (
thenLoop("idle")andthenLoop("walk")) must match exactly. When they do not, there is no crash, no warning, and no red text anywhere. Your gazelle simply stands in a frozen T-pose and you have no idea why.
Note: the model is licensed CC-BY 4.0, so you are free to use it, including commercially, as long as you credit @monkus if you publish your mod.
Option B: Build your own#
Budget a few hours for this, and treat it as a separate project rather than part of the 30 minutes.
File › New › GeckoLib Animated Model.
Build the gazelle from cubes grouped into bones.
Paint or generate a texture.
In the Animate tab, create two looping animations named exactly
idleandwalk.
Export three files#
Export all three named after the mob ID, gazelle:
Geometry to
gazelle.geo.jsonAnimations to
gazelle.animation.jsonTexture to
gazelle.png
Step 6: Put the files in place#
Create these folders under src/main/resources/assets/firstmod/ (they do not exist yet in a fresh project) and put your three exports in them:
src/main/resources/assets/firstmod/
├─ geckolib/
│  ├─ models/entity/gazelle.geo.json
│  └─ animations/entity/gazelle.animation.json
└─ textures/entity/gazelle.png
The file names, the animation names, and the registry name you pick in Step 8 all have to agree. GeckoLib finds these files by convention, not configuration, which is why a file in the wrong folder produces an invisible mob rather than an error.
✅ Checkpoint (10 seconds, and it catches the worst bug in this tutorial): open
gazelle.animation.jsonin any text editor and look at the keys directly under"animations". You should see"idle"and"walk". If you still see"idle1"or"move", the rename in Step 5 did not take. Fix it now, either in Blockbench or by editing those two keys in the file.
Step 7: Write the entity class#
This is the mob itself: how much health it has, how it behaves, and which animation plays when.
New file: src/main/java/com/example/firstmod/entity/Gazelle.java
Note: in IntelliJ, right-click the
firstmodpackage, then New › Java Class, and enterentity.Gazelleto create the package and the class in one go.
package com.example.firstmod.entity;

import com.example.firstmod.registry.ModEntities;
import com.geckolib.animatable.GeoEntity;
import com.geckolib.animatable.instance.AnimatableInstanceCache;
import com.geckolib.animatable.manager.AnimatableManager;
import com.geckolib.animation.AnimationController;
import com.geckolib.animation.RawAnimation;
import com.geckolib.util.GeckoLibUtil;
import net.minecraft.server.level.ServerLevel;
import net.minecraft.world.entity.AgeableMob;
import net.minecraft.world.entity.EntitySpawnReason;
import net.minecraft.world.entity.EntityType;
import net.minecraft.world.entity.ai.attributes.AttributeSupplier;
import net.minecraft.world.entity.ai.attributes.Attributes;
import net.minecraft.world.entity.ai.goal.BreedGoal;
import net.minecraft.world.entity.ai.goal.FloatGoal;
import net.minecraft.world.entity.ai.goal.LookAtPlayerGoal;
import net.minecraft.world.entity.ai.goal.PanicGoal;
import net.minecraft.world.entity.ai.goal.RandomLookAroundGoal;
import net.minecraft.world.entity.ai.goal.TemptGoal;
import net.minecraft.world.entity.ai.goal.WaterAvoidingRandomStrollGoal;
import net.minecraft.world.entity.animal.Animal;
import net.minecraft.world.entity.player.Player;
import net.minecraft.world.item.ItemStack;
import net.minecraft.world.item.Items;
import net.minecraft.world.level.Level;

public class Gazelle extends Animal implements GeoEntity {
    // These strings must match the animation names in gazelle.animation.json.
    private static final RawAnimation IDLE = RawAnimation.begin().thenLoop("idle");
    private static final RawAnimation WALK = RawAnimation.begin().thenLoop("walk");

    private final AnimatableInstanceCache cache = GeckoLibUtil.createInstanceCache(this);

    public Gazelle(EntityType<? extends Gazelle> type, Level level) {
        super(type, level);
    }

    // Health, speed, and anything else measured in attributes.
    public static AttributeSupplier.Builder createAttributes() {
        return Animal.createAnimalAttributes()
                .add(Attributes.MAX_HEALTH, 8.0D)
                .add(Attributes.MOVEMENT_SPEED, 0.30D);
    }

    // Goals are behaviors, checked in priority order. Lower number wins.
    @Override
    protected void registerGoals() {
        this.goalSelector.addGoal(0, new FloatGoal(this));                  // don't drown
        this.goalSelector.addGoal(1, new PanicGoal(this, 1.5D));            // run when hurt
        this.goalSelector.addGoal(2, new BreedGoal(this, 1.0D));            // make babies
        this.goalSelector.addGoal(3, new TemptGoal(this, 1.2D, stack -> stack.is(Items.WHEAT), false));
        this.goalSelector.addGoal(4, new WaterAvoidingRandomStrollGoal(this, 1.0D));
        this.goalSelector.addGoal(5, new LookAtPlayerGoal(this, Player.class, 6.0F));
        this.goalSelector.addGoal(6, new RandomLookAroundGoal(this));
    }

    // One controller: play WALK when moving, otherwise IDLE.
    // The 5 is how many ticks to blend between animations, so the switch
    // doesn't snap. Raise it for smoother, lazier transitions.
    @Override
    public void registerControllers(AnimatableManager.ControllerRegistrar controllers) {
        controllers.add(new AnimationController<>("movement", 5, test ->
                test.isMoving() ? test.setAndContinue(WALK) : test.setAndContinue(IDLE)));
    }

    @Override
    public AnimatableInstanceCache getAnimatableInstanceCache() {
        return this.cache;
    }

    // The breeding item. Hold it to lead the mob around (TemptGoal),
    // feed two gazelles to breed them (BreedGoal).
    @Override
    public boolean isFood(ItemStack stack) {
        return stack.is(Items.WHEAT);
    }

    // What a successful breeding produces.
    @Override
    public AgeableMob getBreedOffspring(ServerLevel level, AgeableMob partner) {
        return ModEntities.GAZELLE.get().create(level, EntitySpawnReason.BREEDING);
    }
}
Note: your IDE will show errors on
ModEntitiesright now. That class does not exist yet, and you create it in the next step. The errors disappear then. Nothing is wrong.
⚠️ Warning:
isFoodis not optional.Animaldeclares it abstract, so leaving it out fails the build with:error: Gazelle is not abstract and does not override abstract method isFood(ItemStack) in Animal
Step 8: Register the entity type#
Writing the class is not enough. The game needs to know the mob exists, under a name, with a size and a set of attributes.
DeferredRegister is how NeoForge lets you register things at the correct moment during startup instead of whenever your class happens to load.
New file: src/main/java/com/example/firstmod/registry/ModEntities.java
package com.example.firstmod.registry;

import com.example.firstmod.FirstMod;
import com.example.firstmod.entity.Gazelle;
import net.minecraft.world.entity.EntityType;
import net.minecraft.world.entity.MobCategory;
import net.neoforged.neoforge.event.entity.EntityAttributeCreationEvent;
import net.neoforged.neoforge.registries.DeferredHolder;
import net.neoforged.neoforge.registries.DeferredRegister;

public final class ModEntities {
    public static final DeferredRegister.Entities ENTITIES =
            DeferredRegister.createEntities(FirstMod.MODID);

    public static final DeferredHolder<EntityType<?>, EntityType<Gazelle>> GAZELLE =
            ENTITIES.registerEntityType("gazelle", Gazelle::new,
                    MobCategory.CREATURE, builder -> builder.sized(0.6F, 1.3F));

    // Called from the mod bus.
    public static void registerAttributes(EntityAttributeCreationEvent event) {
        event.put(GAZELLE.get(), Gazelle.createAttributes().build());
    }
}
sized(0.6F, 1.3F) is the hitbox in blocks, width then height. It is not the model's size. It is what you bump into and what your arrows hit, so aim for roughly the shape you see on screen.
The "gazelle" string here is the registry name, and it is what makes /summon firstmod:gazelle work and what GeckoLib uses to find gazelle.geo.json.
Step 9: Register the renderer#
The renderer is client-side only, because a dedicated server never draws anything. That is what dist = Dist.CLIENT guarantees.
New file: src/main/java/com/example/firstmod/client/GazelleRenderer.java
package com.example.firstmod.client;

import com.example.firstmod.entity.Gazelle;
import com.example.firstmod.registry.ModEntities;
import com.geckolib.renderer.GeoEntityRenderer;
import com.geckolib.renderer.base.GeoRenderState;
import net.minecraft.client.renderer.entity.EntityRendererProvider;
import net.minecraft.client.renderer.entity.state.LivingEntityRenderState;

public class GazelleRenderer<R extends LivingEntityRenderState & GeoRenderState>
        extends GeoEntityRenderer<Gazelle, R> {
    public GazelleRenderer(EntityRendererProvider.Context context) {
        super(context, ModEntities.GAZELLE.get());
    }
}
That is the entire renderer. GeckoLib's (Context, EntityType) constructor looks up the model, animation, and texture from the entity's registry name, which is exactly why the file names in Step 6 have to match.
New file: src/main/java/com/example/firstmod/client/FirstModClient.java
package com.example.firstmod.client;

import com.example.firstmod.FirstMod;
import com.example.firstmod.registry.ModEntities;
import net.neoforged.api.distmarker.Dist;
import net.neoforged.bus.api.IEventBus;
import net.neoforged.fml.ModContainer;
import net.neoforged.fml.common.Mod;
import net.neoforged.neoforge.client.event.EntityRenderersEvent;

@Mod(value = FirstMod.MODID, dist = Dist.CLIENT)
public final class FirstModClient {
    public FirstModClient(IEventBus modBus, ModContainer container) {
        modBus.addListener(EntityRenderersEvent.RegisterRenderers.class, e ->
                e.registerEntityRenderer(ModEntities.GAZELLE.get(),
                        context -> new GazelleRenderer<>(context)));
    }
}
Step 10: Add a spawn egg and names#
New file: src/main/java/com/example/firstmod/registry/ModItems.java
package com.example.firstmod.registry;

import com.example.firstmod.FirstMod;
import net.minecraft.world.item.SpawnEggItem;
import net.neoforged.neoforge.registries.DeferredItem;
import net.neoforged.neoforge.registries.DeferredRegister;

public final class ModItems {
    public static final DeferredRegister.Items ITEMS =
            DeferredRegister.createItems(FirstMod.MODID);

    public static final DeferredItem<SpawnEggItem> GAZELLE_SPAWN_EGG =
            ITEMS.registerItem("gazelle_spawn_egg",
                    props -> new SpawnEggItem(props.spawnEgg(ModEntities.GAZELLE.get())));
}
Now wire everything into your mod's constructor. This is the one place all four registrations come together.
Replace in src/main/java/com/example/firstmod/FirstMod.java: the constructor, plus the imports at the top. It should now read in full:
package com.example.firstmod;

import com.example.firstmod.registry.ModEntities;
import com.example.firstmod.registry.ModItems;
import net.minecraft.world.item.CreativeModeTabs;
import net.neoforged.bus.api.IEventBus;
import net.neoforged.fml.ModContainer;
import net.neoforged.fml.common.Mod;
import net.neoforged.neoforge.event.BuildCreativeModeTabContentsEvent;
import net.neoforged.neoforge.event.entity.EntityAttributeCreationEvent;

@Mod(FirstMod.MODID)
public final class FirstMod {
    public static final String MODID = "firstmod";

    public FirstMod(IEventBus modBus, ModContainer container) {
        ModEntities.ENTITIES.register(modBus);
        modBus.addListener(EntityAttributeCreationEvent.class, ModEntities::registerAttributes);

        ModItems.ITEMS.register(modBus);
        modBus.addListener(BuildCreativeModeTabContentsEvent.class, e -> {
            if (e.getTabKey() == CreativeModeTabs.SPAWN_EGGS)
                e.accept(ModItems.GAZELLE_SPAWN_EGG);
        });
    }
}
⚠️ Warning: if you drop only the two
ModItemslines in and loseModEntities.ENTITIES.register(modBus), your entity never registers and/summonreports an unknown entity type. Keep all four registrations.
Give the egg a model#
Registering an item does not draw it. Without these two files the egg works but appears as the black and magenta missing-model cube.
The first file is the item model definition, which points at a model:
New file: src/main/resources/assets/firstmod/items/gazelle_spawn_egg.json
{
  "model": {
    "type": "minecraft:model",
    "model": "firstmod:item/gazelle_spawn_egg"
  }
}
The second is the model itself, a flat sprite built from one texture:
New file: src/main/resources/assets/firstmod/models/item/gazelle_spawn_egg.json
{
  "parent": "minecraft:item/generated",
  "textures": {
    "layer0": "minecraft:item/goat_spawn_egg"
  }
}
Borrowing the vanilla goat egg texture means you do not have to draw anything right now. To use your own art, save a 16x16 PNG to assets/firstmod/textures/item/gazelle_spawn_egg.png and change layer0 to firstmod:item/gazelle_spawn_egg.
🚨 Silent failure: older guides tell you to use
"parent": "minecraft:item/template_spawn_egg". That model no longer exists, and the only sign is one line buried in the log:Missing block model: minecraft:item/template_spawn_egg. Your egg renders as a missing-model cube. Useminecraft:item/generatedas shown above.
Name your mob#
Without this file the game shows raw translation keys like entity.firstmod.gazelle instead of readable names.
New file: src/main/resources/assets/firstmod/lang/en_us.json
{
  "entity.firstmod.gazelle": "Gazelle",
  "item.firstmod.gazelle_spawn_egg": "Gazelle Spawn Egg"
}
✅ Checkpoint: build the project before running it (Build › Build Project, or
./gradlew compileJava). It must compile cleanly. Catching a typo here means one file to check instead of six.
Step 11: Run and test#
./gradlew runClient
Create a world in Creative mode.
Open the inventory and type
gazellein the search box to find your Gazelle Spawn Egg.Place a gazelle, or run
/summon firstmod:gazelle.Watch it: the idle animation while it stands still, the walk animation when it wanders off.
Switch to Survival, hold wheat, and watch it follow you. Feed two gazelles to get a baby.
✅ You are done when you see your textured model, it is named "Gazelle", and the animation changes between standing and moving.
To confirm the server side is healthy, meaning the entity registered and its attributes applied, run:
/summon firstmod:gazelle
/data get entity @e[type=firstmod:gazelle,limit=1] Health
That reports 8.0f, matching the MAX_HEALTH you set in Step 7.
Troubleshooting#
SymptomCauseFixBuild fails: "does not override abstract method isFood"Animal.isFood is abstractAdd the isFood override from Step 7Gradle dies with "Unsupported class file major version 70"You are on JDK 26 or newerSwitch the Gradle JVM to JDK 25Gradle sync fails to resolve com.geckolibRepository missing or in the wrong blockRe-check the repositories block in Step 3Mod does not appear in the Mods menuPart 1 never completedRe-run Step 4 before touching mob code/summon says unknown entity typeModEntities.ENTITIES.register(modBus) missingRestore all four registrations in Step 10Mob is invisible, but the egg worksRenderer not registered, or asset in the wrong folderCheck Step 9, then the paths in Step 6Mob appears but is frozen in a T-poseAnimation names do not matchRename to idle and walk, see the checkpoint in Step 6Mob crashes the game the moment it spawnsAttributes never registeredCheck the EntityAttributeCreationEvent listener in Step 8Name shows as entity.firstmod.gazelleMissing or misplaced language fileCheck the path of en_us.json in Step 10Spawn egg is a black and magenta cubeModel JSON missing, or uses template_spawn_eggUse both files from Step 10
Next steps#
Natural spawning, with spawn placements and biome modifiers
More animations: run, attack, and a triggered eat
Baby variants, and a
FollowParentGoalso calves trail their motherSounds: ambient, hurt, and death
0 comments
No comments yet. Be the first to say something.